
An automation sends emails based on an event – either immediately or with a delay. This can mean that some emails are sent in the middle of the night. With a blocking time, you can ensure that emails are only sent during the times you deem appropriate. This guide will show you how to set up blocking time on your autoresponder.
Step 1: Go to restriction
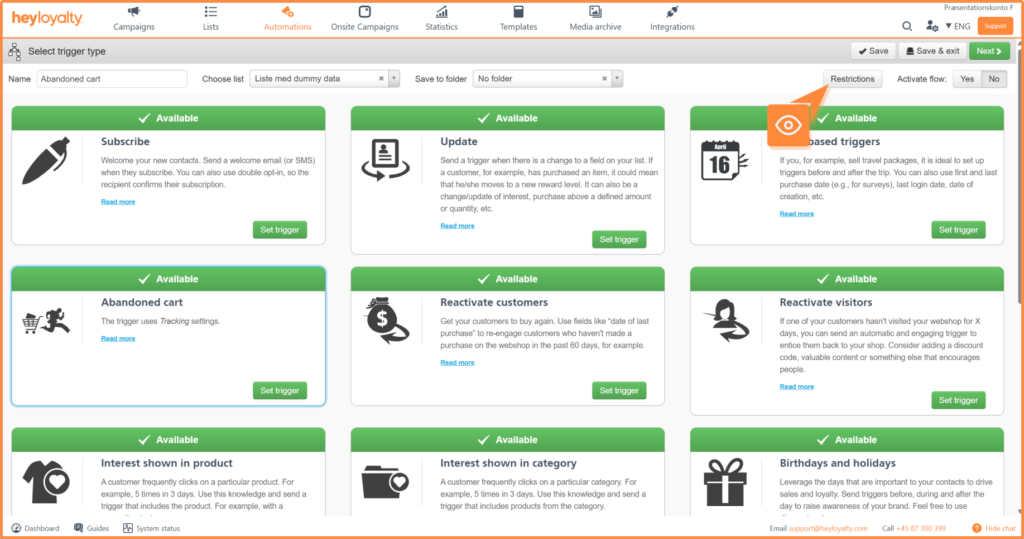
Create an automation flow. On the trigger page, you have the option to access Restrictions, which you can find here:
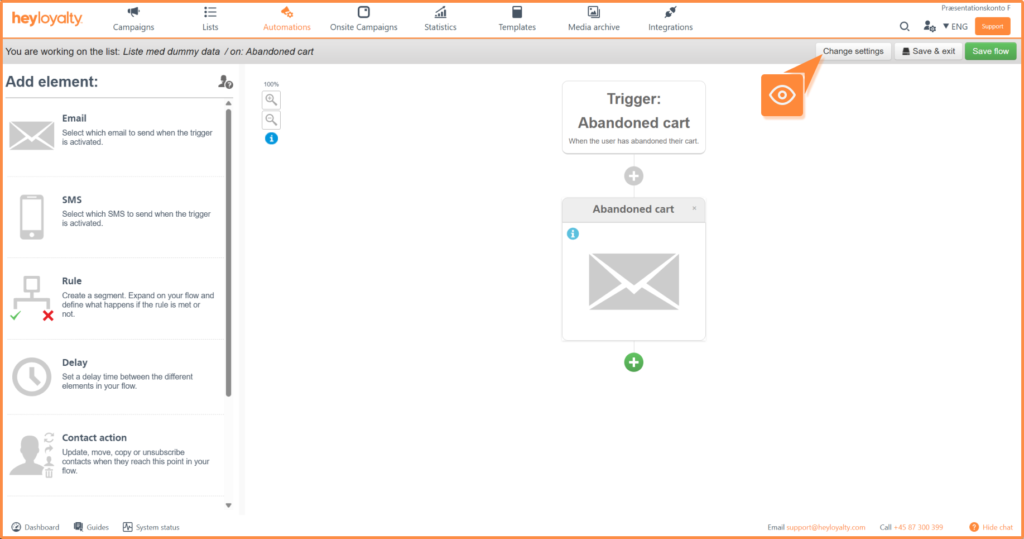
If you have already created the automation flow, click on the name of the automation flow in the overview. This will take you to the flow builder. To access Restrictions, click Change settings:
Then go to Restrictions, as shown in the first image in step 1.
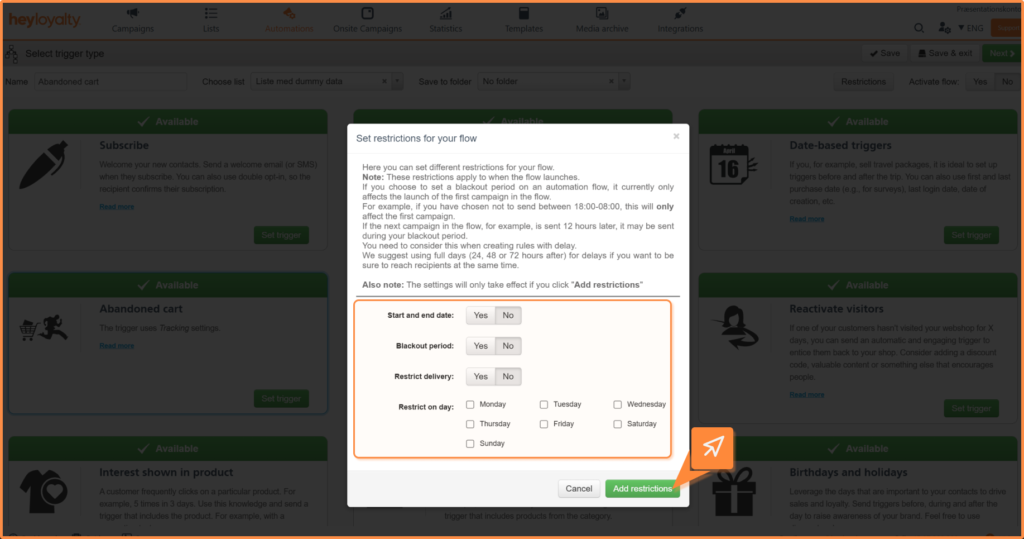
Step 2: Enable lockout time
Find the Broadcast lockout time field ? field and select Yes.
Enter the time period during which emails should not be sent:
- Start time – Time at which the curfew begins
- End time – Time at which the curfew ends
If an automation is triggered during this interval, the email will be held back and will not be sent until the blocking time ends.
Examples of use
- Curfew 23:00-07:00 – Avoid emails at night
- Curfew 11:00-10:00 – Ensures all emails are sent around 10:00-11:00
You are now ready
You have now set up blocking time on your automation and can control when your emails are sent. This prevents recipients from receiving emails at inappropriate times and allows you to target sending to the times when your emails have the greatest impact. Try adjusting the blocking time to suit the habits of your target audience.