


Restore Lost Cart
Step 1 – Set up the abandoned cart automation
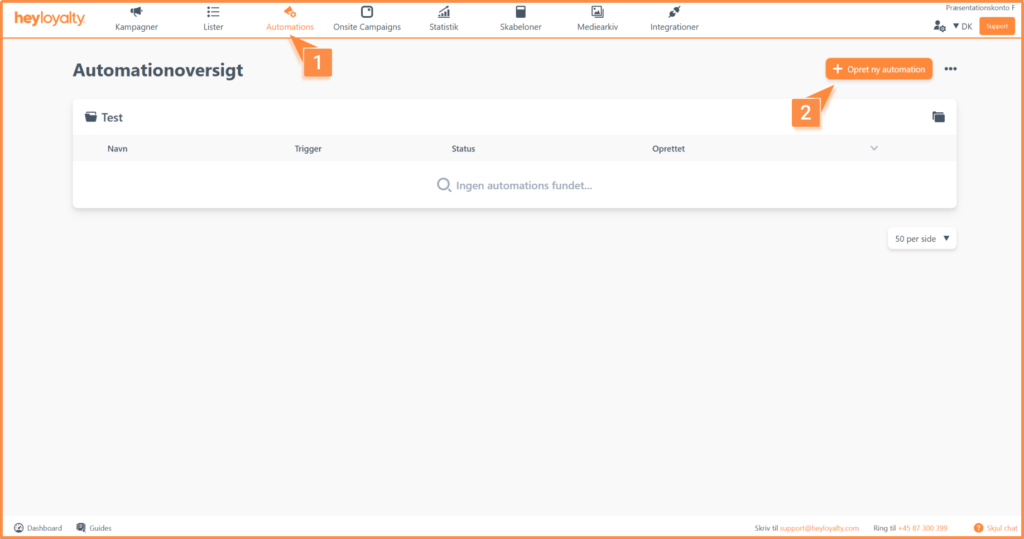
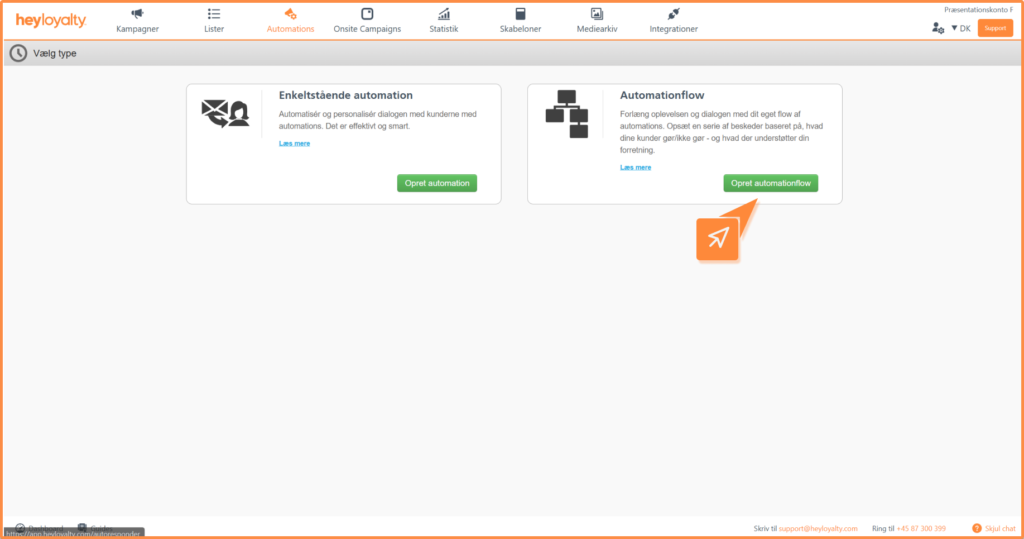
Set up your abandoned cart automation by clicking on Automations –> Create New Automation –> Create Automation Flow.
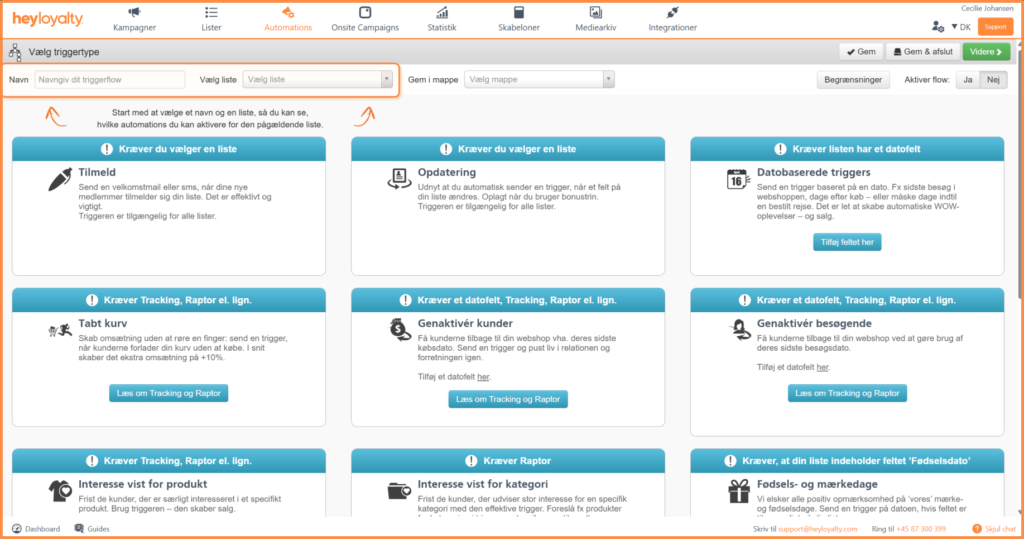
Name your flow and select a list that has tracking set up.
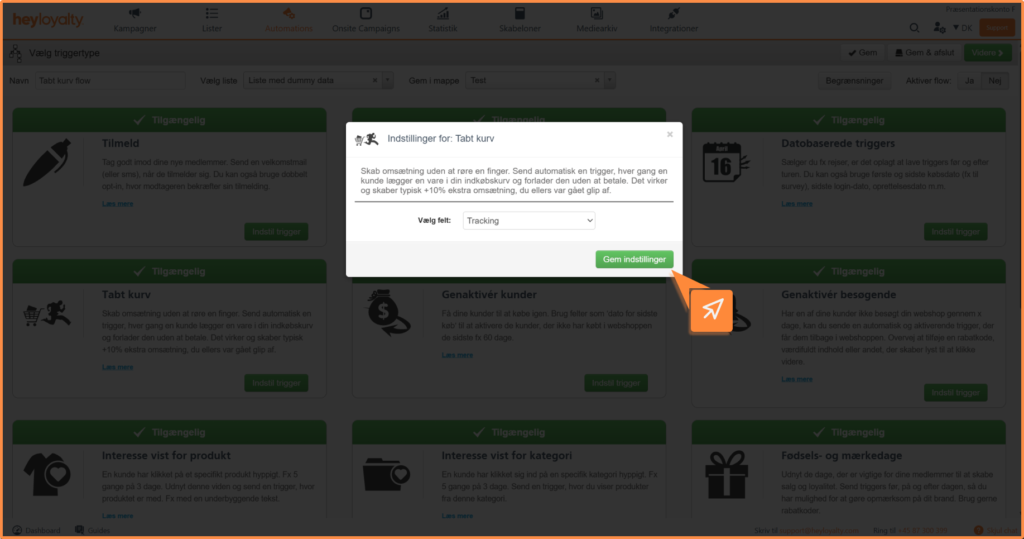
Select the “Abandoned Cart ” trigger and click ” Set Trigger.” In the pop-up window that appears, leave the field set to ” Tracking ” and save the settings. Click ” Next.”
Step 2 – Set up your email and design your abandoned cart page
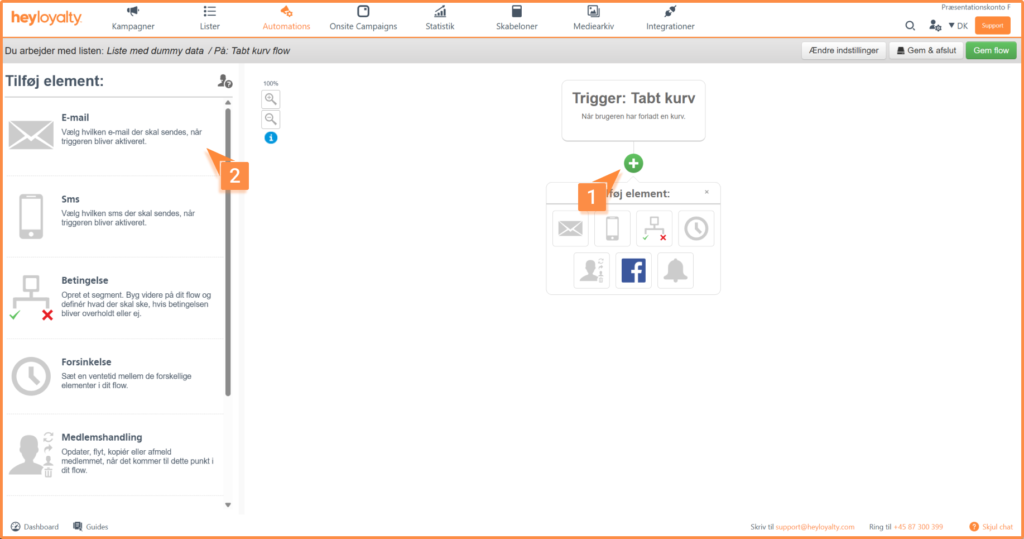
You are now looking at a blank flow. Start building your flow by clicking + and inserting the desired element, which in this case is Email.
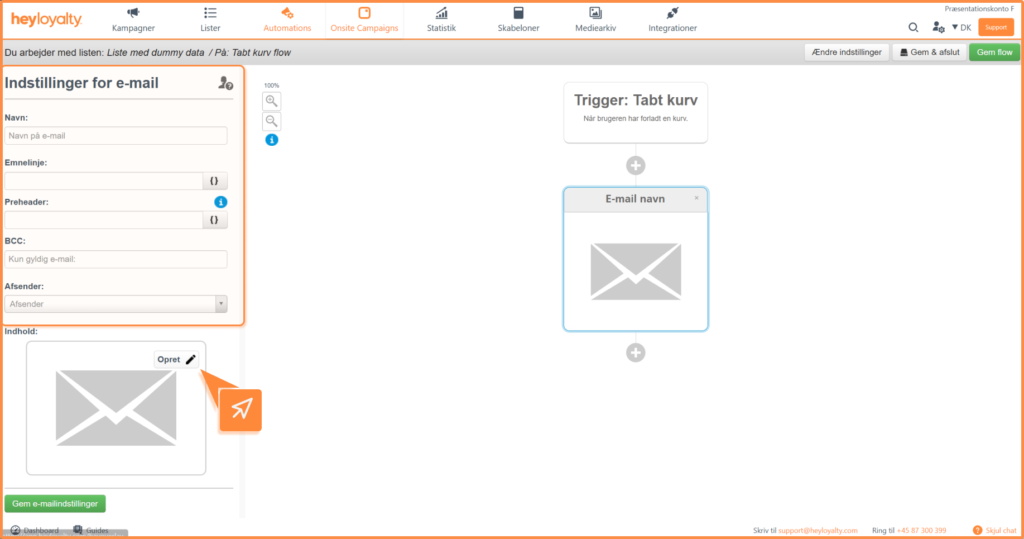
Fill in the information and click Create.
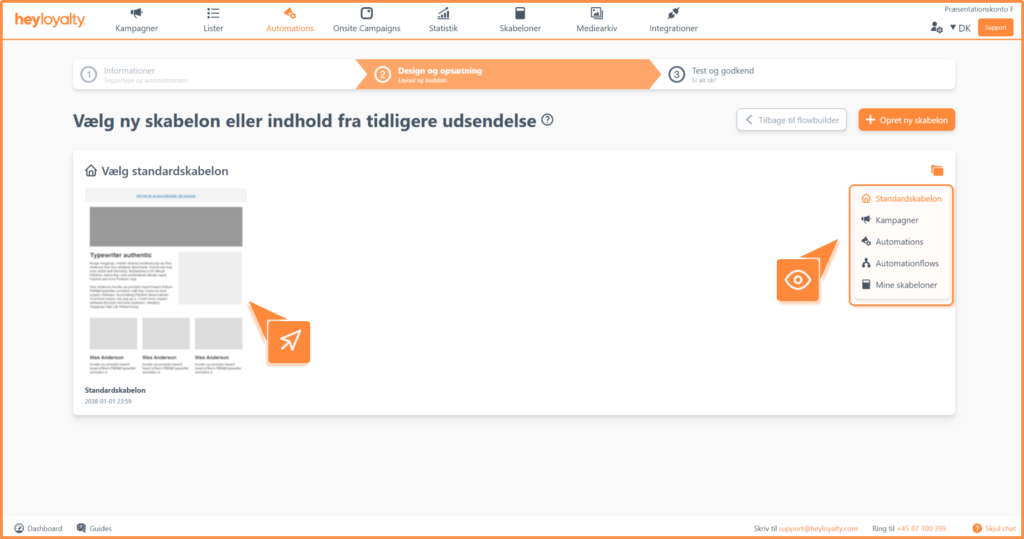
Select the desired email template and design your email.
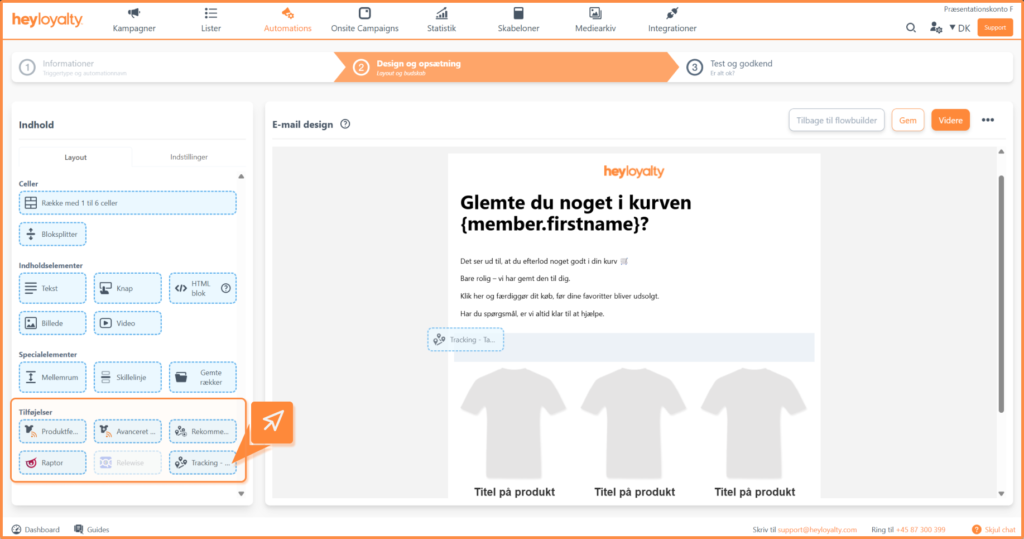
To merge the lost product(s) into the email, use the “Tracking – Lost Cart” add-on.
You now need to set up the layout for your abandoned cart.
- Products per row: Here you can choose how many products to display in each row
- Number of rows: How many rows of products should be displayed in the email
Select template : Select the template you are using for your product feed. If you are using Heyloyalty’s standard template, you can customize the layout of the template and what it should contain under the design button.
- Styling: Here you can add additional CSS styling if you want to customize your product feed
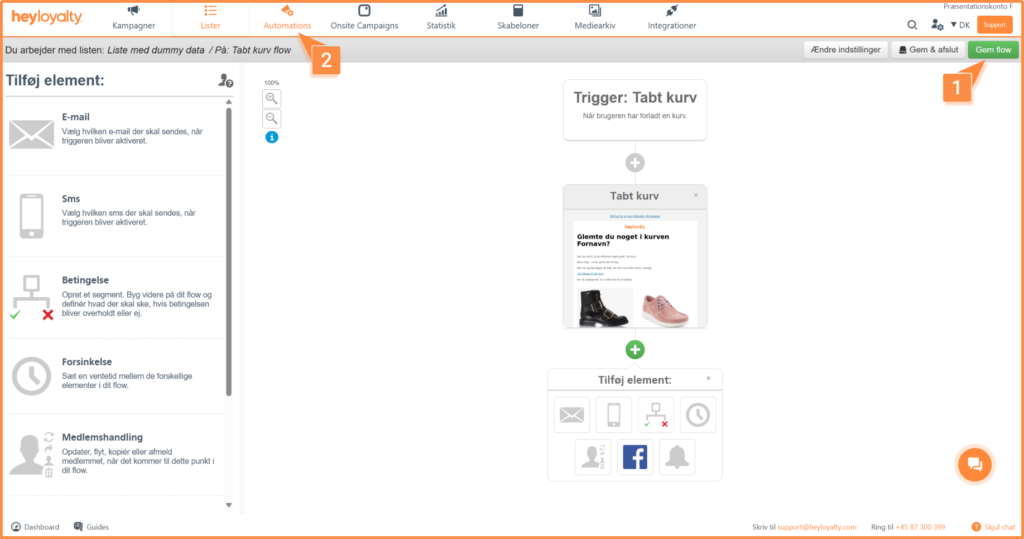
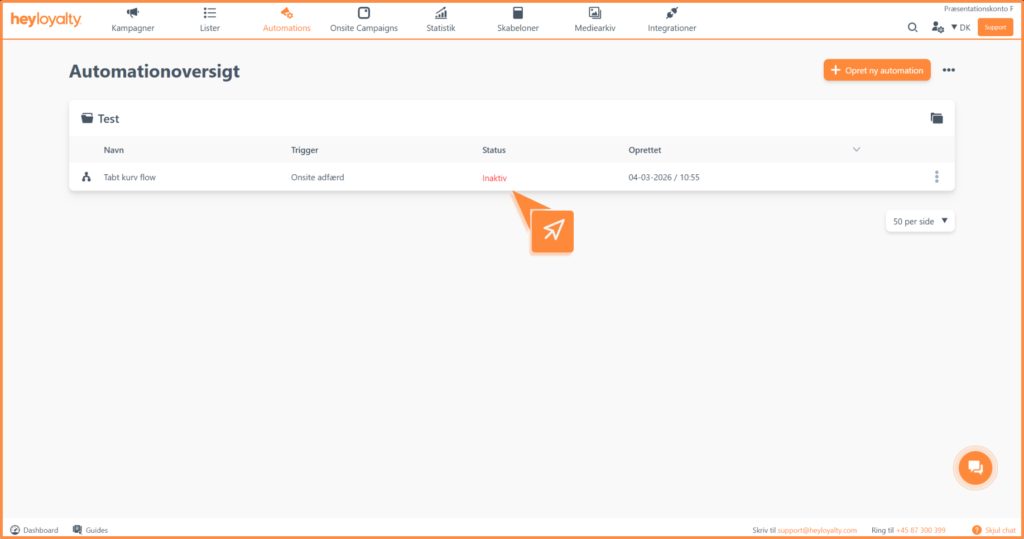
After you’ve designed your email and saved your flow, you can activate the flow by clicking ” Inactive” in the ” Status ” column of your automation overview.
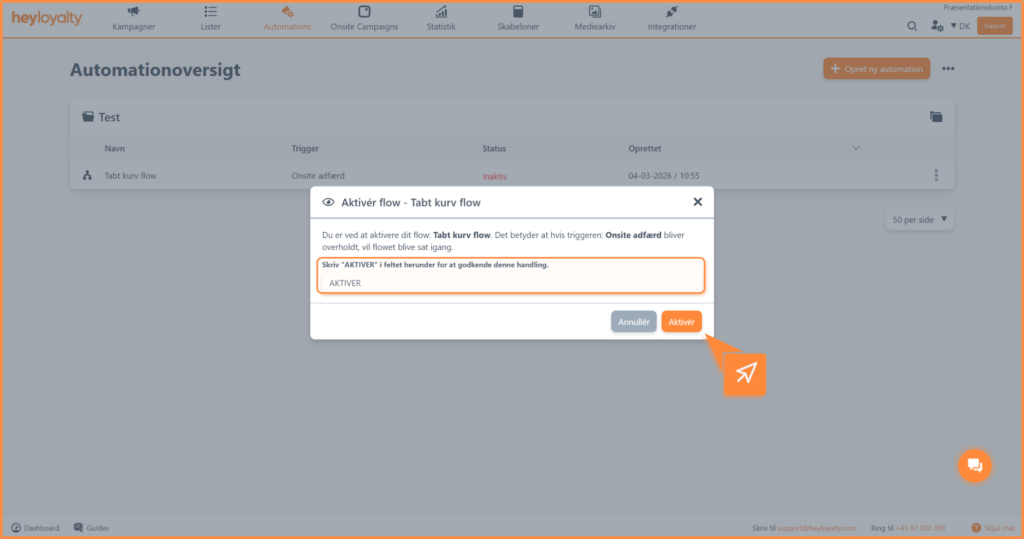
Type ” Activate” in the field and click ” Activate.”

Hvis du mangler information eller hjælp, som du ikke finder her på guide sitet, er du altid velkommen til at kontakte vores support!
support@heyloyalty.com / tlf. 87 300 399