
Setting up the Onsite Campaign integration
Setup Onsite Campaign by clicking Integrations –> List Integrations –> Onsite Campaign –> Setup Integration –> Create New Onsite Campaign
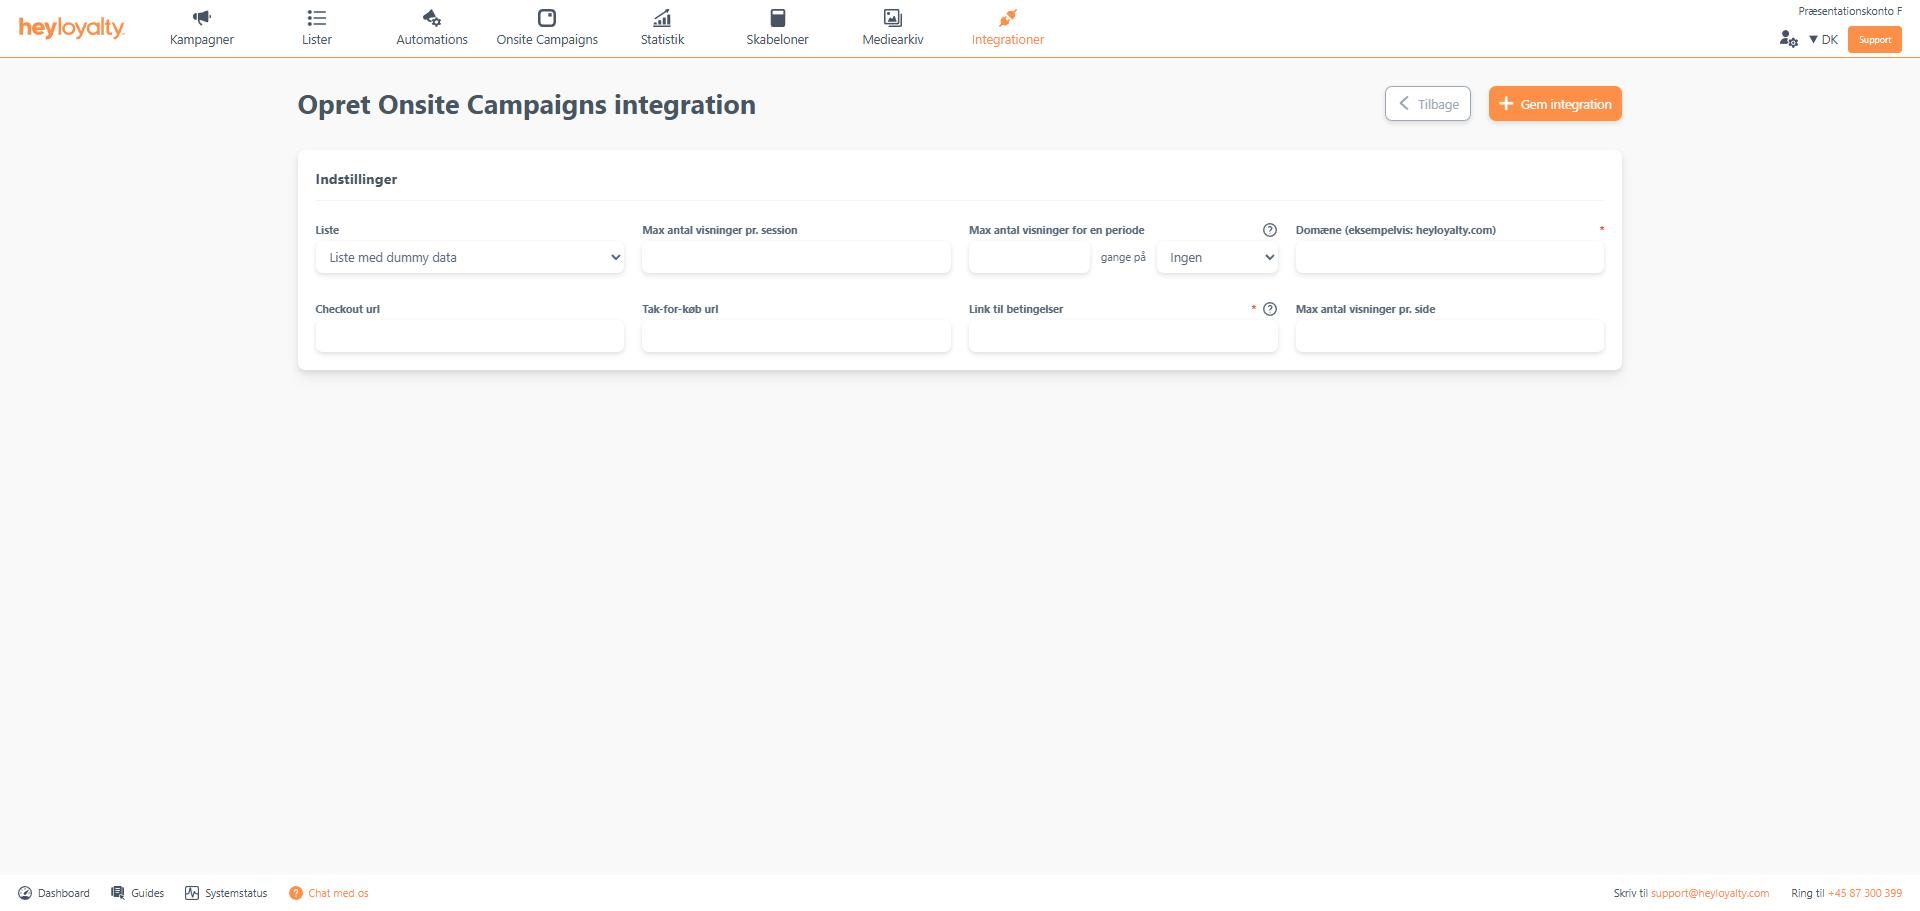
Fill in the fields. Make sure to fill in Domain as your domain – i.e. without and https:// and without www.
Finish with Save integration.
Implementing the Onsite Campaign script
Integrations –> List integrations –> Onsite Campaign –> Edit integration –> ⁝ –> Installation guide. You can now choose between Copy both scripts or Copy script to GTM, where the latter is a script that only works if you deploy the script in GTM (Google Tag Manager). Alternatively, select Copy both scripts and paste them into your site.
Typically, both scripts are inserted in the footer. This way, the script will be available on all pages, which means that Onsite Campaigns can also be displayed on your entire website. However, if you only want an Onsite Campaign to appear on selected pages, you can choose to implement scripts only on those specific pages.
Where exactly you implement this on your site, Heyloyalty cannot advise, as it depends on the CMS you have, but must be inserted in a location that can handle Java scripts.
Next.js – Onsite Campaign
If your website uses Next.js, the Onsite Campaign script will not automatically load on new page views. This is because Next.js often works as a single-page application where the page is not fully reloaded when navigating between different subpages. This means that Onsite Campaign is not displayed on the website.
To ensure that Onsite Campaigns work correctly in a Next.js setup, it is necessary to implement some specific code elements on your website. You can read here what needs to be added to your website for Onsite Campaign to appear.
In this guide, we go through what needs to be set up and how to implement the solution correctly.
Hvis du mangler information eller hjælp, som du ikke finder her på guide sitet, er du altid velkommen til at kontakte vores support!
support@heyloyalty.com / tlf. 87 300 399