
In your media library, you can upload and organize images and graphics so you can easily find them when you need them in your campaigns and automations. In this guide, we’ll go through the features, space and limitations of the media library, as well as important points to keep in mind for animated GIF files.
Media archive
The media archive can be found in the menu here:
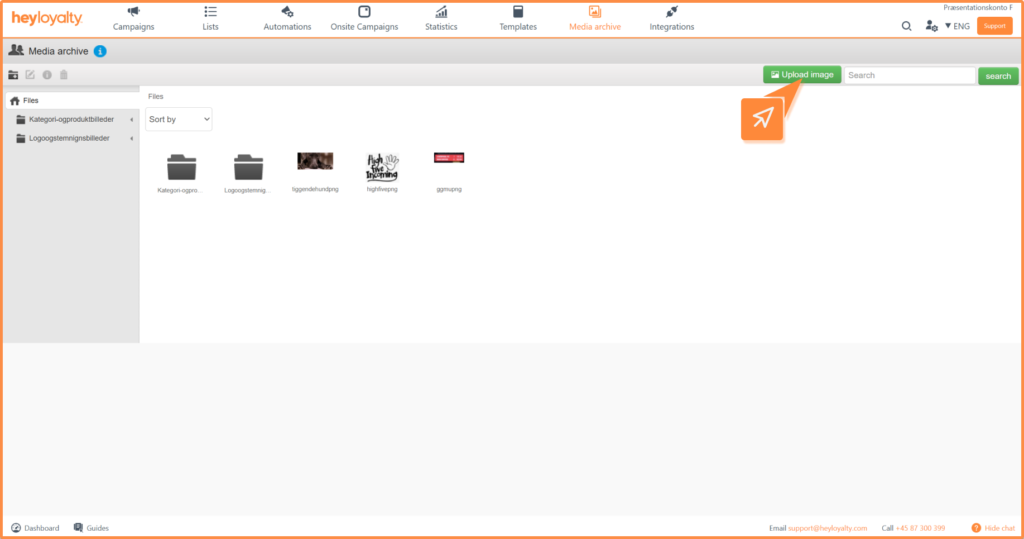
Upload new image
Click the green Upload image button and select the desired file from your computer.
Media archive settings
In the left corner you will find a number of tools to manage your files and folders. The three tools on the right are only activated when you have selected an object.
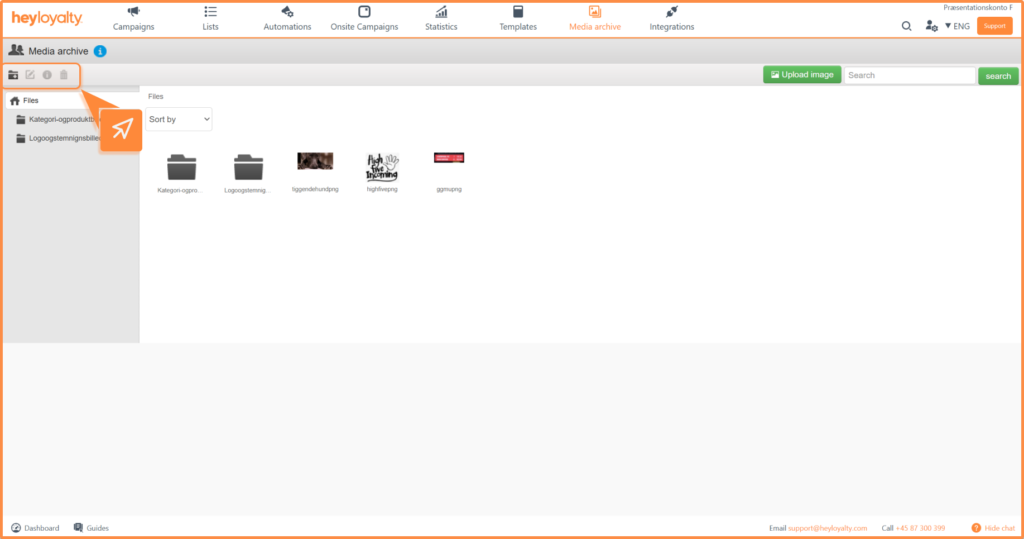
From left to right you can:
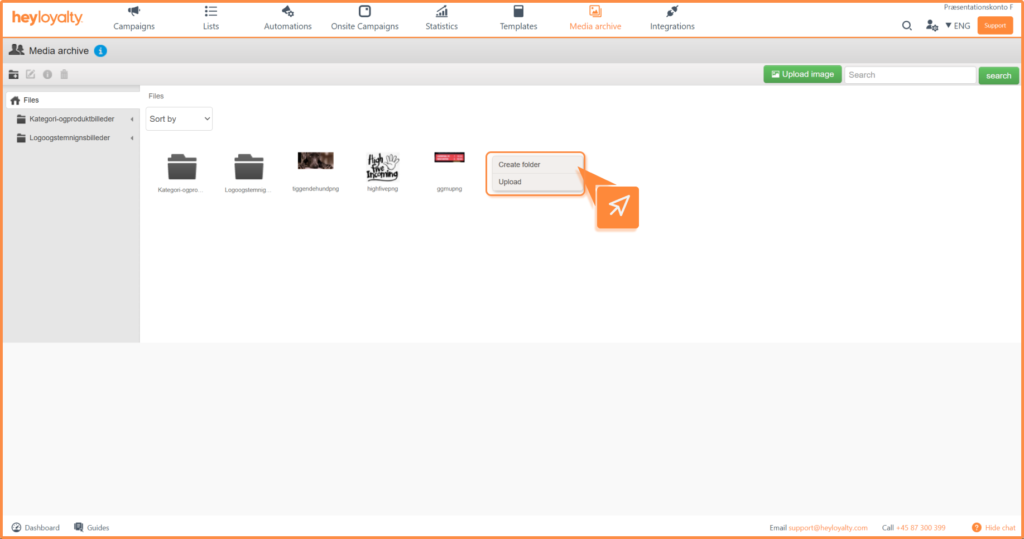
- Create folder – create a new folder for your files
- Rename image names – rename an existing image
- in the icon – Here you can see information about the file
- Trash can –delete an image
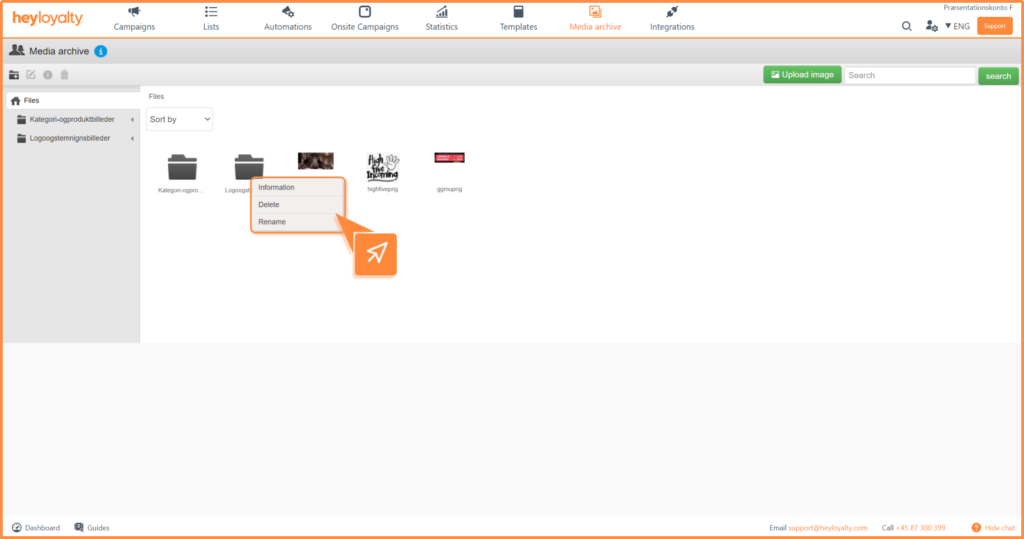
To rename, delete or create a new folder, right-click on an existing folder:
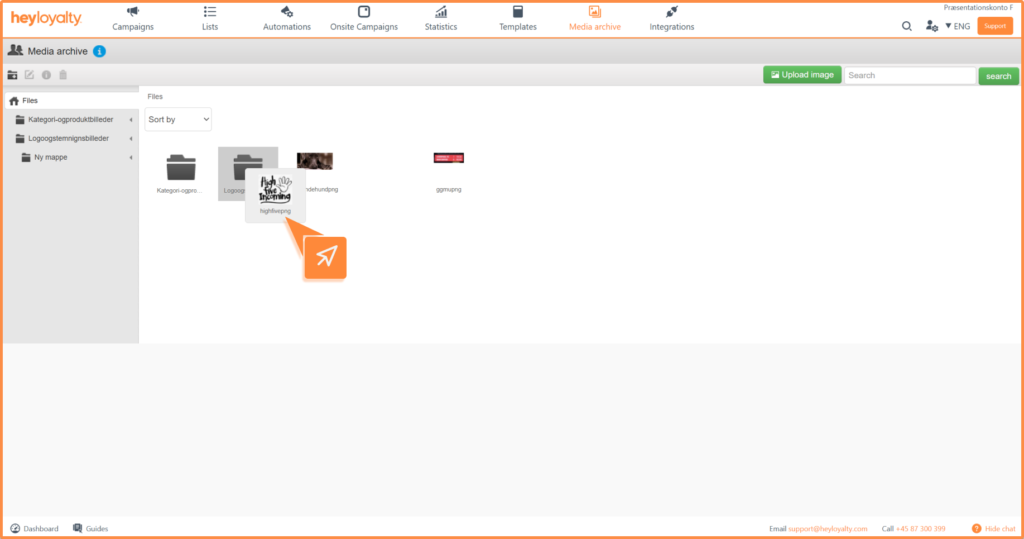
Organize your files
You can drag and drop files in and out of folders to easily keep track of your content.
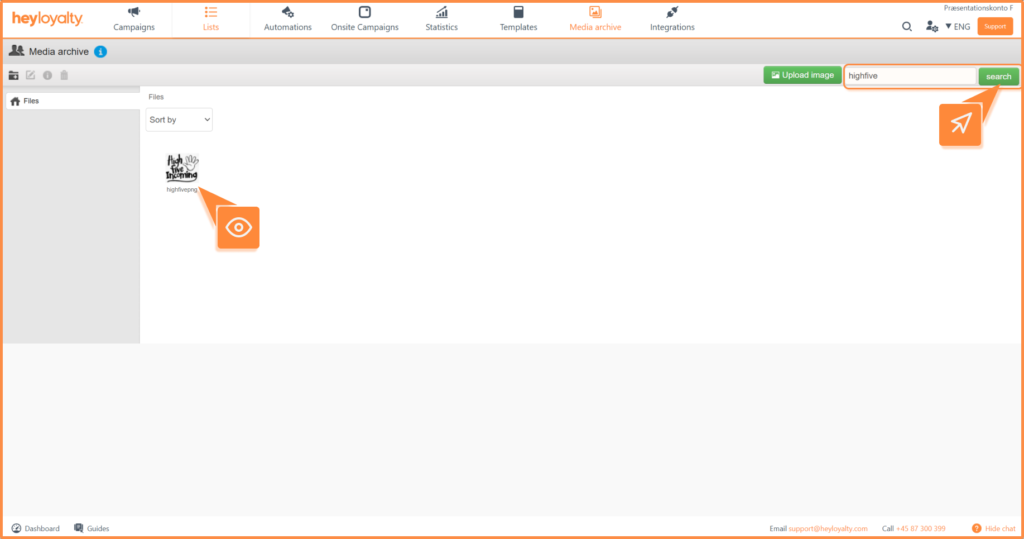
If you need to find a specific image or folder, you can use the search function in the right corner.
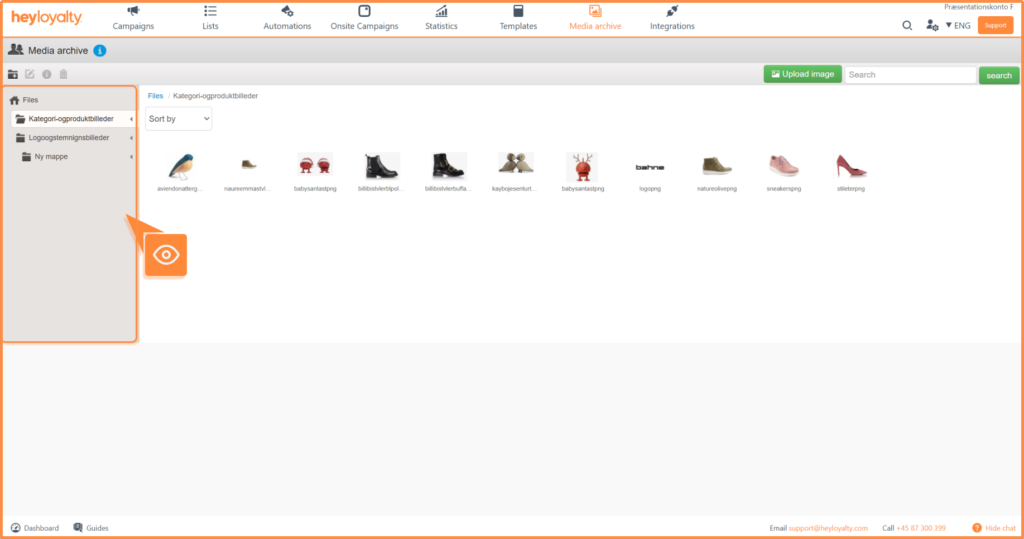
If you have created multiple folders, they will appear in an overview in the left column where you can quickly navigate between them.
Space and limitations
Your account comes with the following space and restrictions:
- Total space: 5 GB per account
- File size: max 2 MB per file for design reasons
- Number of files per upload: max 10 files at a time
Get started with the media archive
You have now learned how to upload, organize and find your images in the media repository and what limitations you need to be aware of. With a well-organized media library – for example, with separate folders for newsletters, campaigns and logos – you’ll save time every time you create new content.
Start organizing your media archive today so you have all your visual elements ready for your next campaign.