
In this guide you will get a step-by-step guide on how to set up your sender profile. It is important that you set up a sender profile, as it is mandatory in Heyloyalty in order for you to send emails. The sender profile is used as sender information when you send emails or SMS.
At the end of the guide, we will explain how to validate your sender profile so you can send to more than 10 recipients.
Setup of Sender profile
Create your sender profile by clicking Settings –> Sender profiles
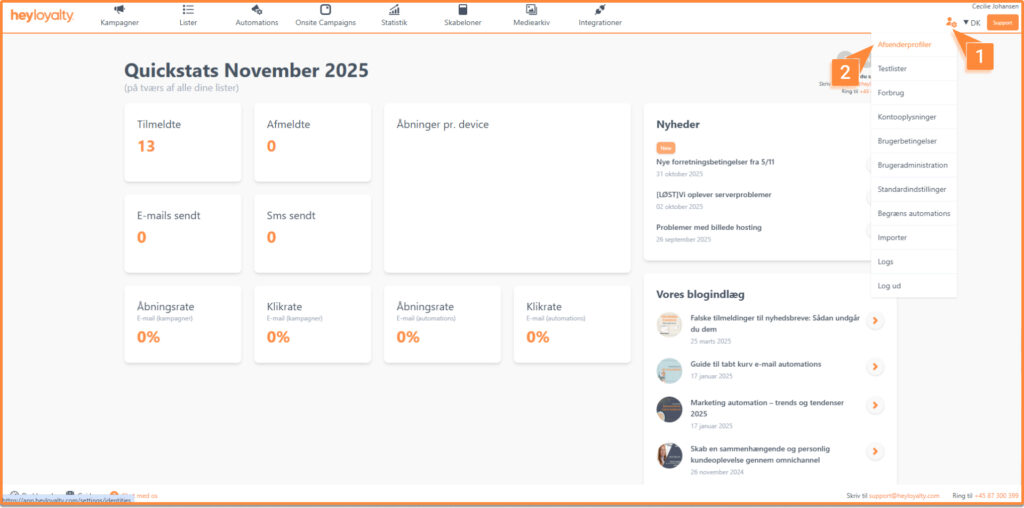
This takes you to the Sender profile overview. Here you press create new sender.
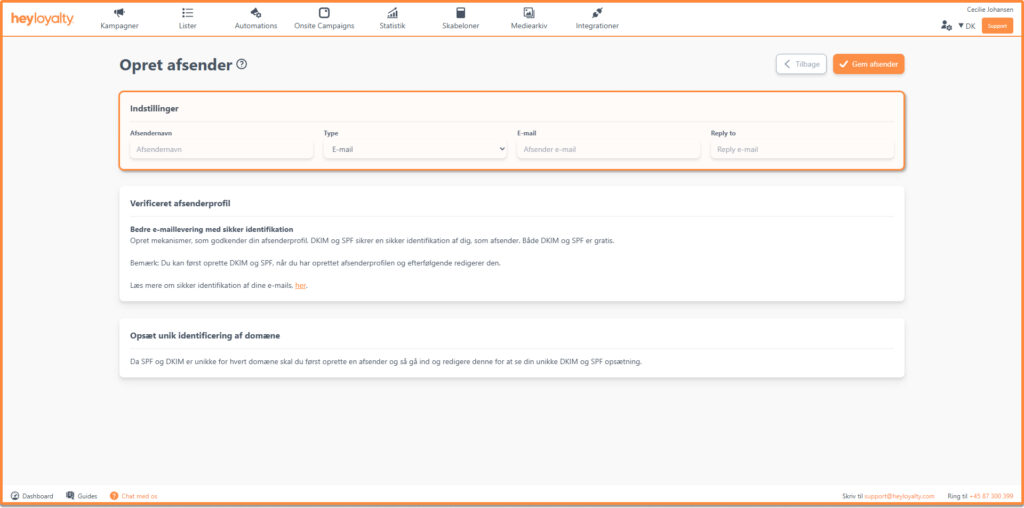
Fill in the information.
- Sender name: Is what appears as the title of the email you receive in your inbox. We recommend you make it a little personal and believable.
- Type: Here you choose whether the sender profile should be for email or SMS. If you want to send both emails and SMS, please note that you must create two different sender profiles for emails and SMS respectively.
- Email is the email address that your recipients will recognize as the email address that sent the email. Here too, it can be a good idea to create a personalized email address. To avoid one of your employees’ inboxes being flooded with inquiries, autoresponders, etc., consider creating a new inbox that can receive all of this.
- Reply to is the default email address that receives the response if a recipient hits ‘Reply’ on one of your newsletters. This email address can in principle be different from the sender’s, but it can also be the same.
Finish by clicking Save sender.
Validate sender
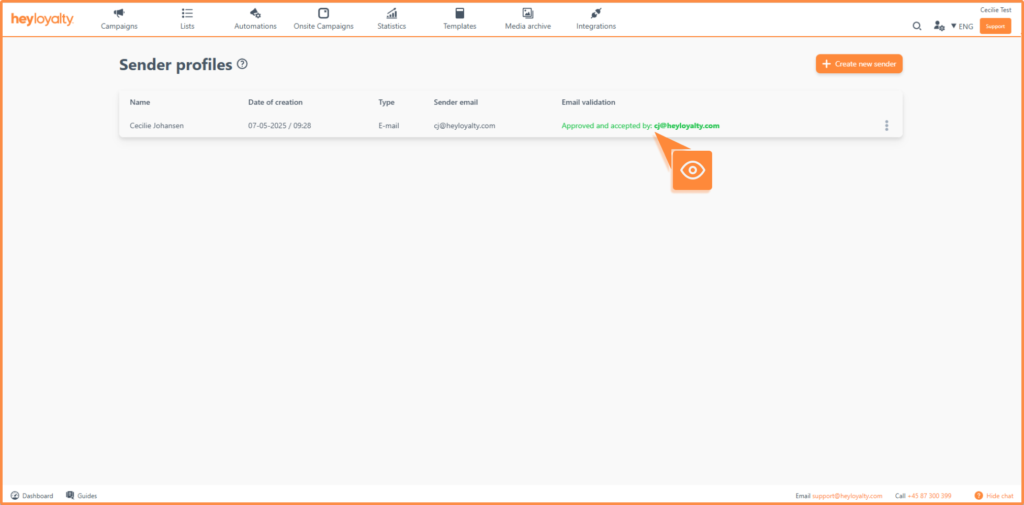
After you click save sender, you will receive a confirmation email where you need to approve the sender profile. Once you have approved the sender profile, you will be able to see it under your sender profiles.
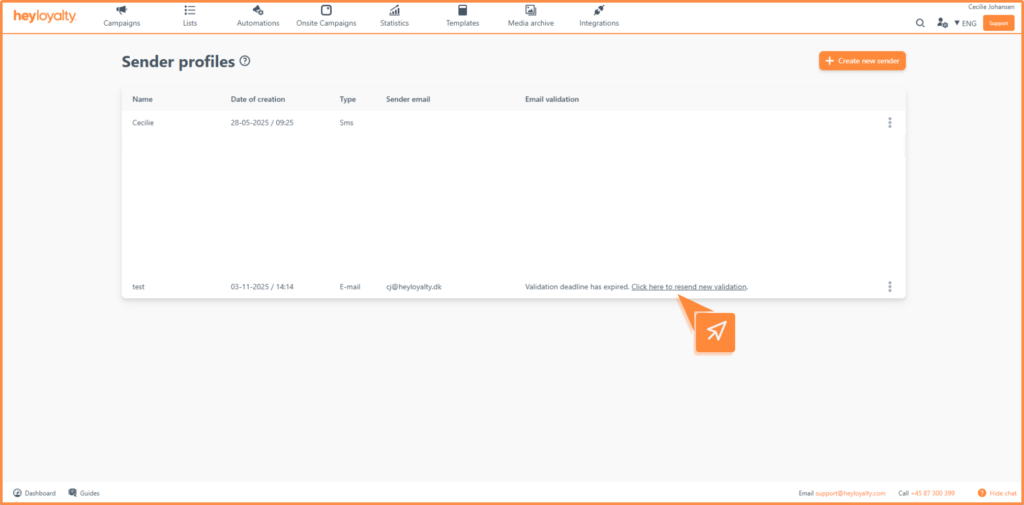
If you didn’t have time to approve your sender profile, you will be able to resend the confirmation email. To do this, go to the sender profile and click Click here to resend validation.
DNS setup
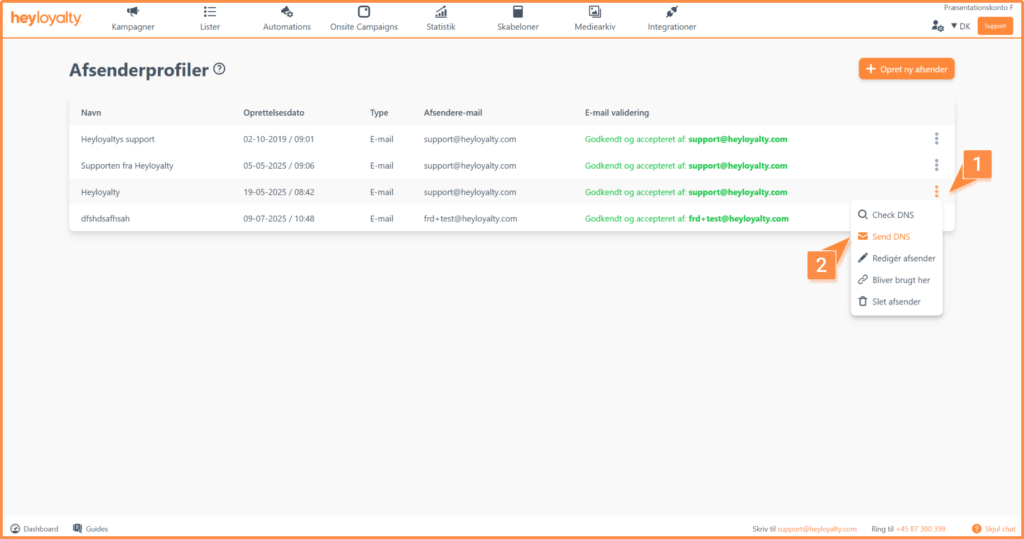
You can now access both SPF and DKIM information. If you have an IT manager in your company, you can send an auto-generated email to the person by clicking ⁝ Send DNS >
Fill in the name and email address of the IT manager, who will receive the email below with exactly the information the person needs to be able to verify your sender profile.
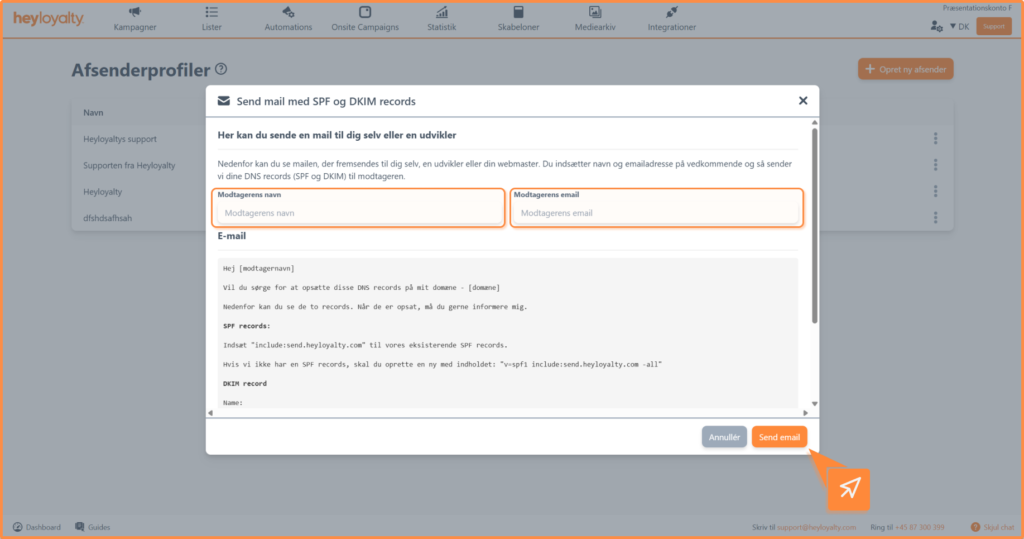
Send the auto-generated email by clicking Send email.
Once SPF and DKIM have been set up, you can check if the setup has gone through and/or done correctly by clicking on ⁝ –> Check DNS.
There will now be either a red or green bar at the top, telling you if the setup has been done correctly:
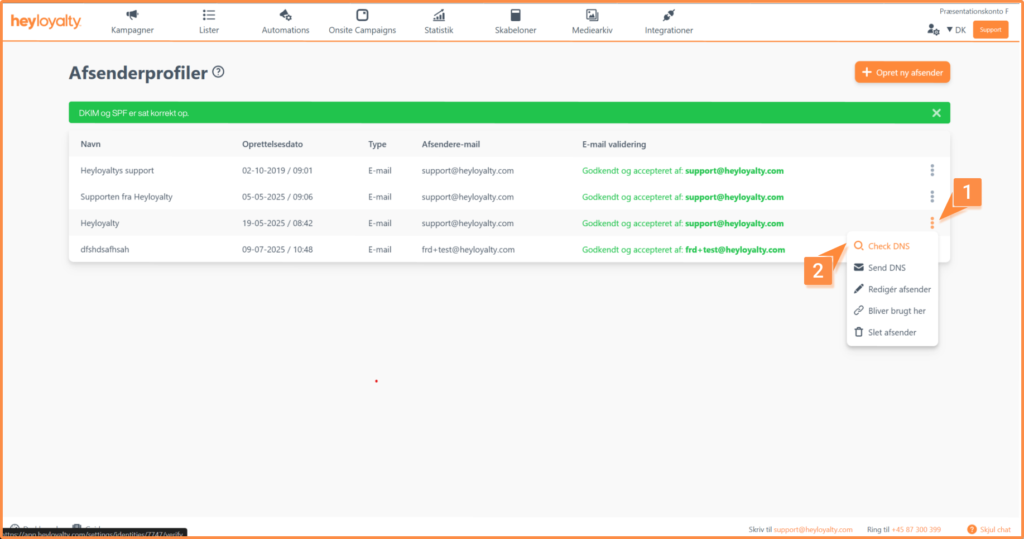
If it says DKIM and SPF is set up correctly, you are now ready to use the sender profile and can send both campaigns and automations in Heyloyalty.
Hvis du mangler information eller hjælp, som du ikke finder her på guide sitet, er du altid velkommen til at kontakte vores support!
support@heyloyalty.com / tlf. 87 300 399