
In Step 1, you need to fill in various information about your campaign. These settings form the basis of your broadcast and affect the content, recipients and time of broadcast. This guide will take you through all the fields on the page one at a time.
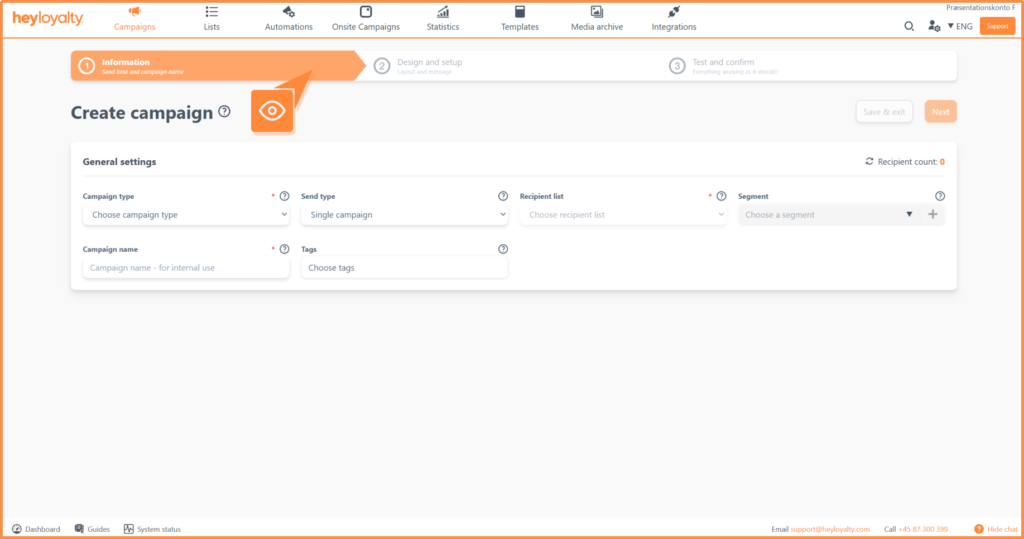
Step 1: Select campaign type
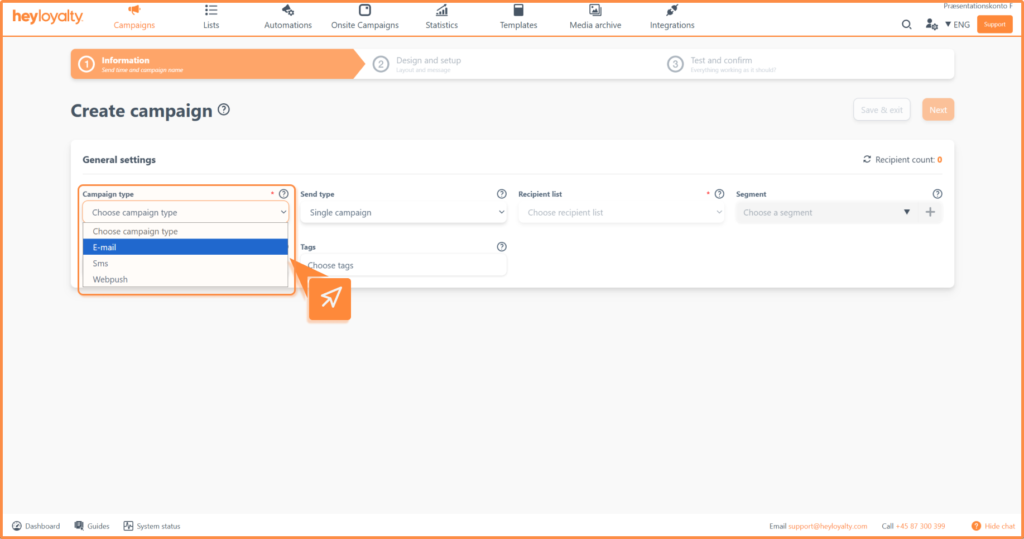
Start by choosing which channel your campaign will be sent via. You can choose between:
- Email: the campaign is sent as an email
- SMS: the campaign is sent as a regular text message
- SMS+: the campaign is sent as an SMS with a link to a landing page where the recipient can click directly through
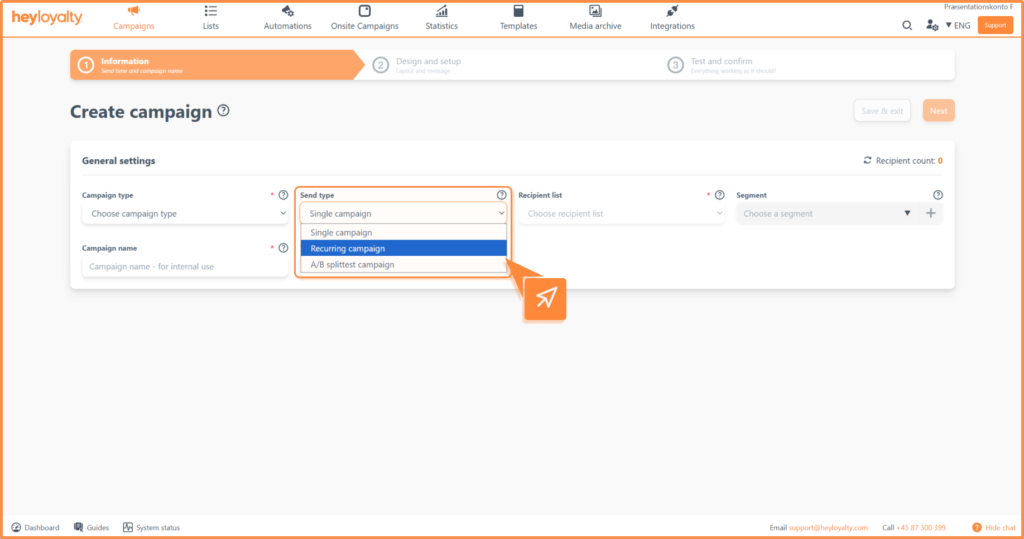
Step 2: Select broadcast type
Then choose how you want to send the campaign:
- Regular campaign: sent out once
- Recurring campaign: sent out multiple times according to a fixed pattern.
- AB split test campaign: Test different parameters on an A and B variant. Read more about the AB split test here.
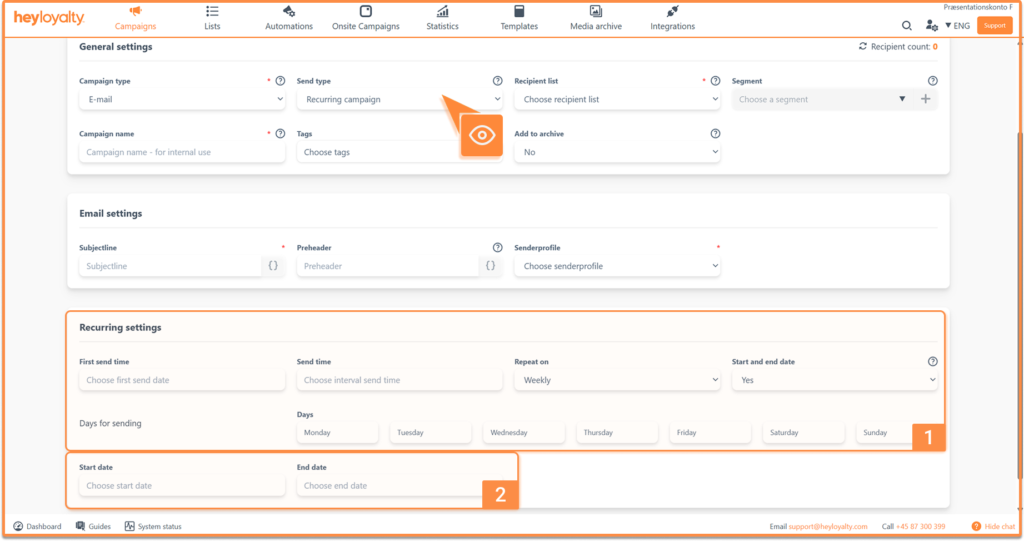
If you choose recurring campaign, you get access to a number of extra options:
- First send date: Select the date on which the first campaign will be sent out.
- Send time: Select what time the recurring campaign should be sent.
- Repeat on: Select whether the campaign should be sent on a weekly or monthly basis.
- Start and end date: If you set this to Yes, select a date for the campaign to start and end.
- Select days: Select which days of the week to send the campaign.
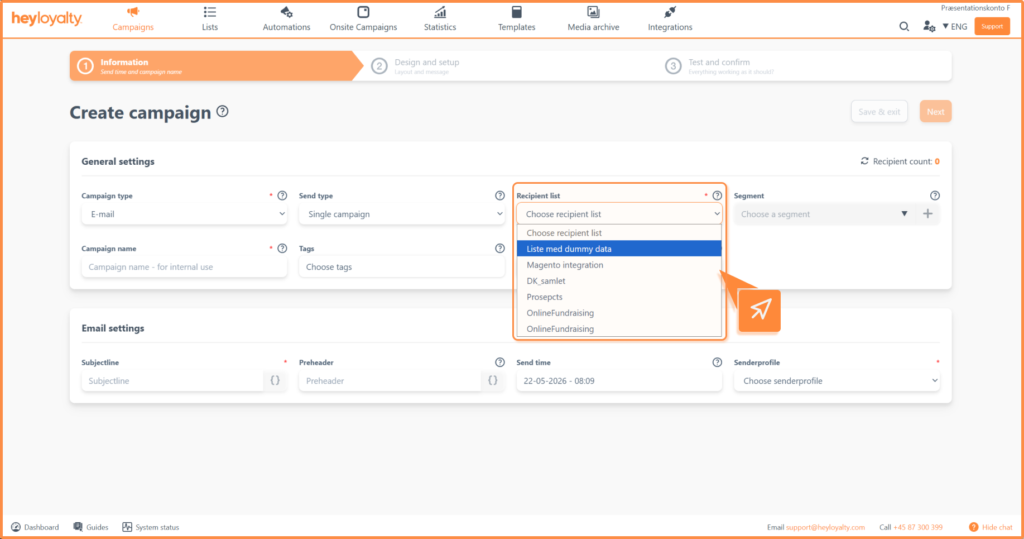
Step 3: Select recipient list and segment
Select the Recipient list to send the campaign to. You can only send to one list at a time.
If you want to add a segment to the broadcast, you can do so here. You can choose between already created segments by clicking the arrow or create a new one by clicking +. Read how to create a segment here.
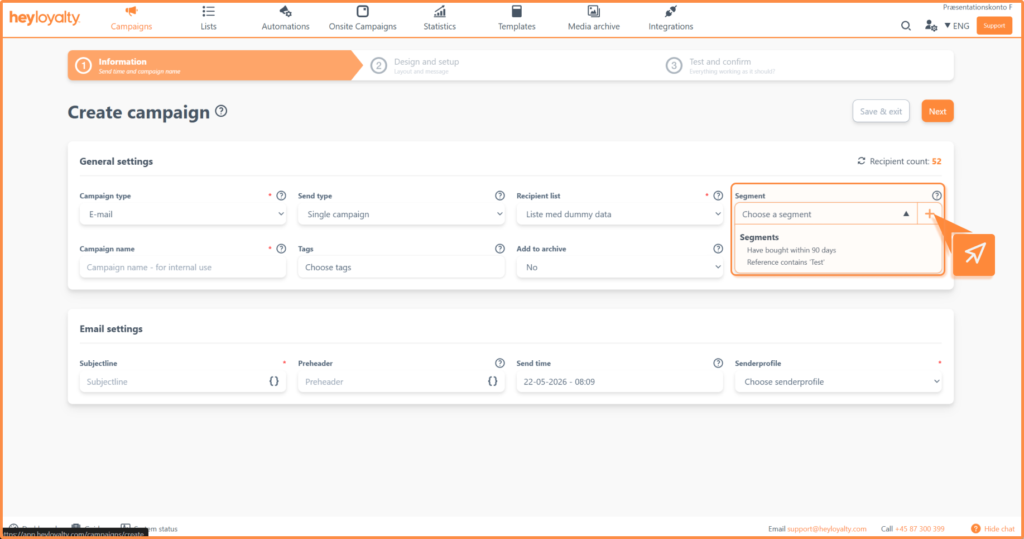
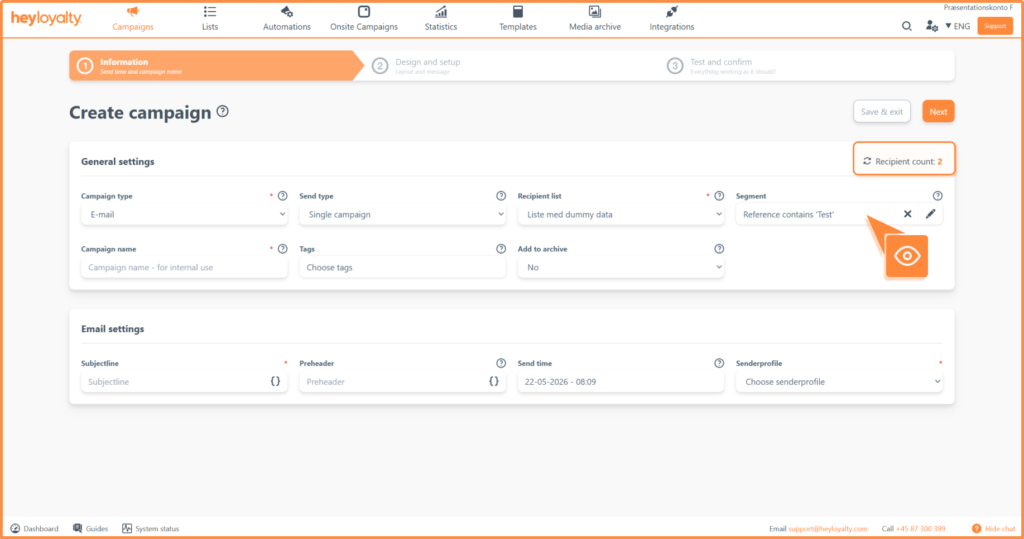
When you add a segment to the campaign, the Number of recipients in the right corner will reflect the selected segment.
You can also choose not to add a segment. In that case, the campaign will be sent to all recipients on the list.
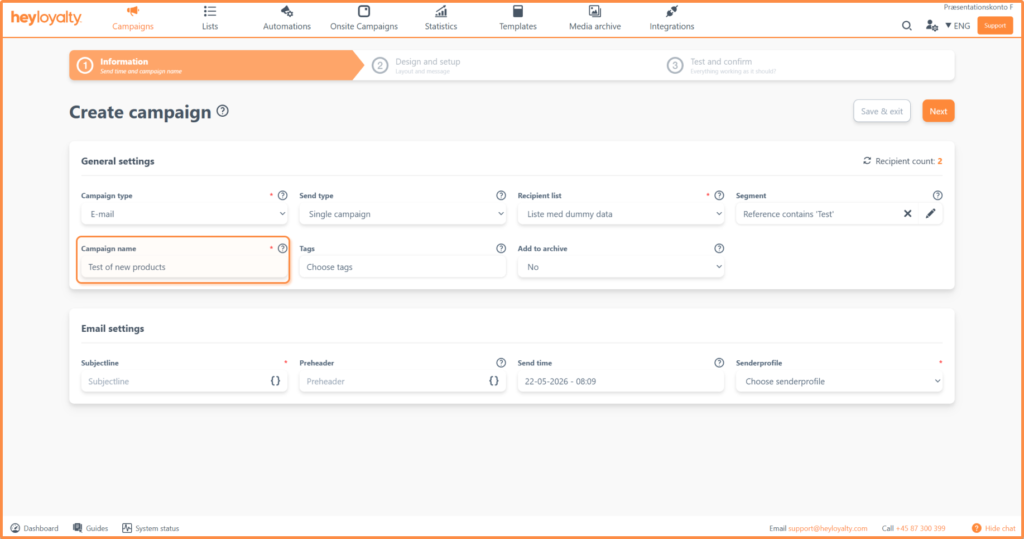
Step 4: Campaign name, labels and add to archive
Give the campaign an internal Campaign name so you can easily find it again. The campaign name will appear in the campaign overview.
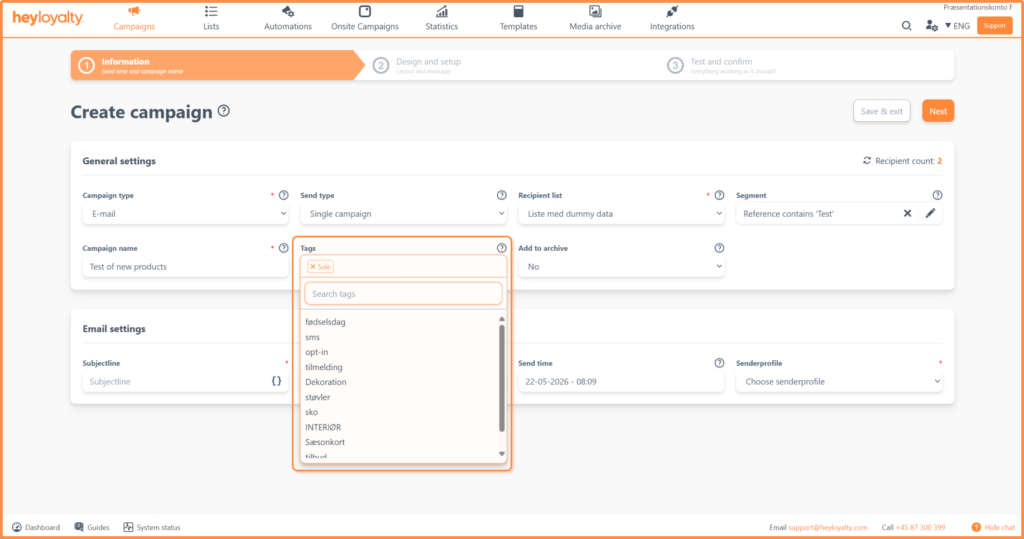
Tags make it easy to find and group campaigns later. Tags can be easily found under filtering and can help you find an existing campaign.
To create a label, tap the field and in the search field type the name of the label, e.g. Sale, when you are done press enter. If you want to add a label that has already been created, simply search for it and select the one you want to use.
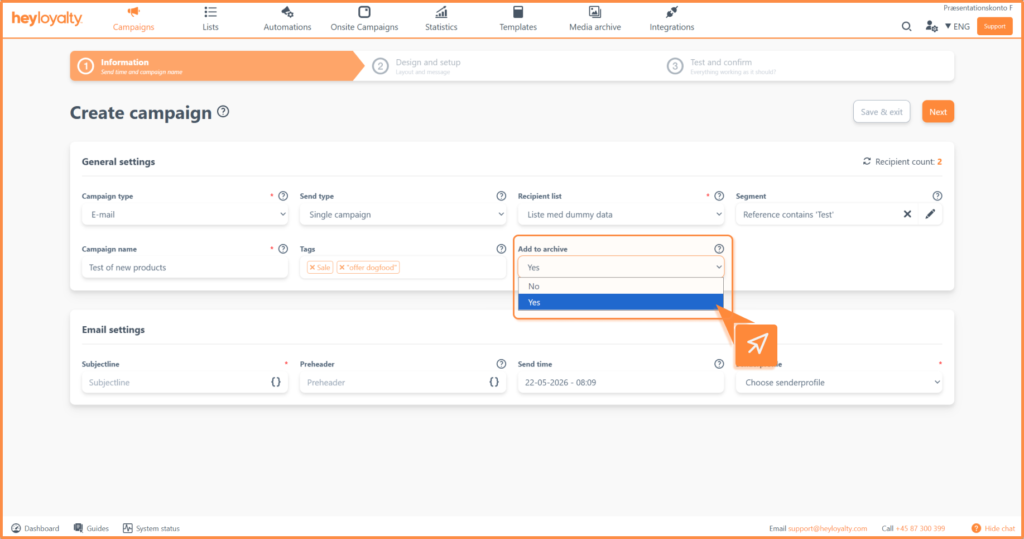
If you want to add your campaign to an external page where everyone can access your campaigns, say yes to adding it to your archive.
Step 5: Subject line and Preheader
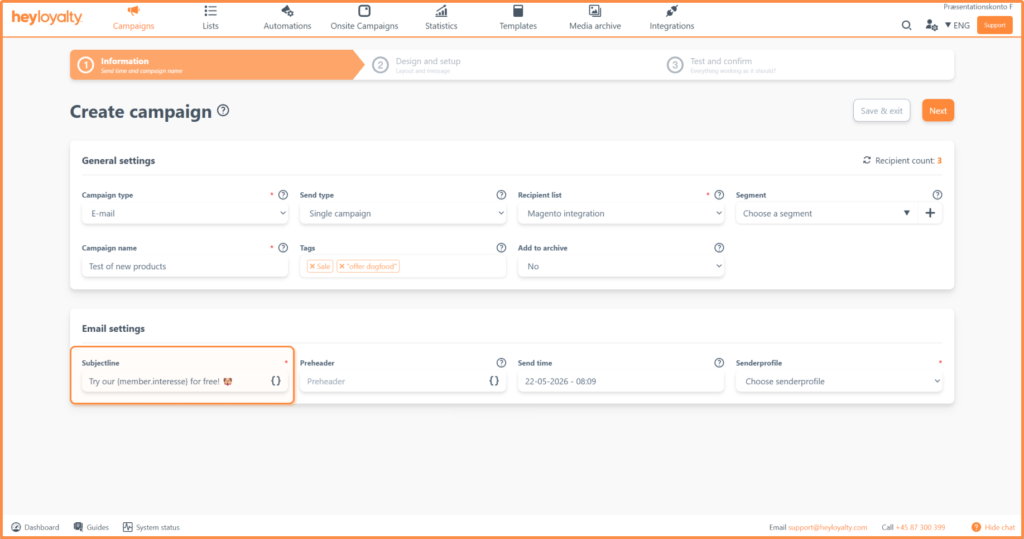
If you’ve chosen an email campaign, you need to fill in a subject line. The subject line is the first thing your recipients see, so make it catchy and curious.
You can use merge fields by clicking { } to insert dynamic information about the recipient or sender. Read more about merge fields.
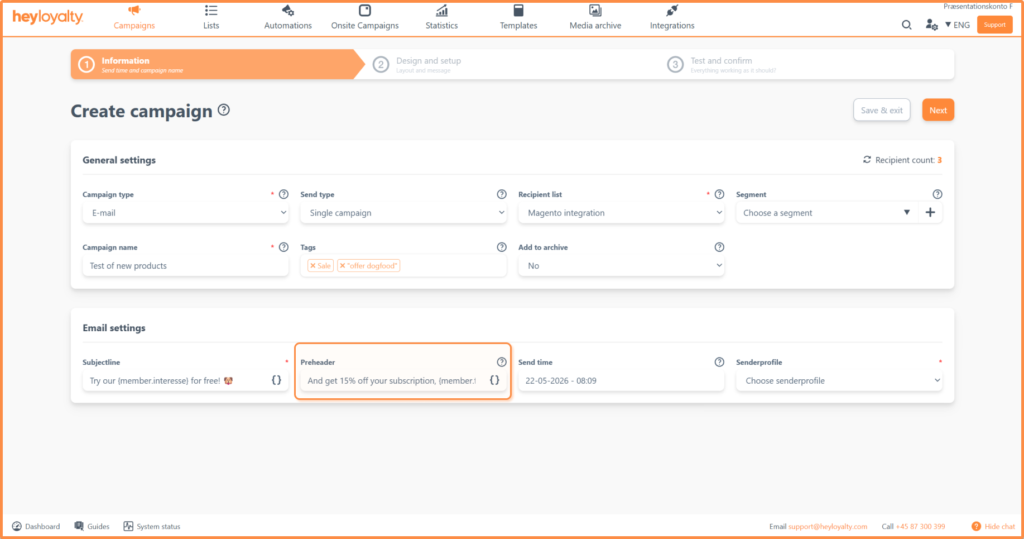
Then you fill in the Preheader, which will appear below the subject line. The preheader is often. The preheader serves as an additional introduction to the content of the email and is used to support the subject line and create more interest in opening the email.
Under Preheader you can also add merge fields by clicking { }.
Preaheader does not need to be filled in, but we recommend filling in this field to better inform the recipient what the email is about.
An example of subject line and Preaheder could be:
- Subject line: Get 20% off your favorites
- Preheader: Offer valid this weekend only – see the selection here.
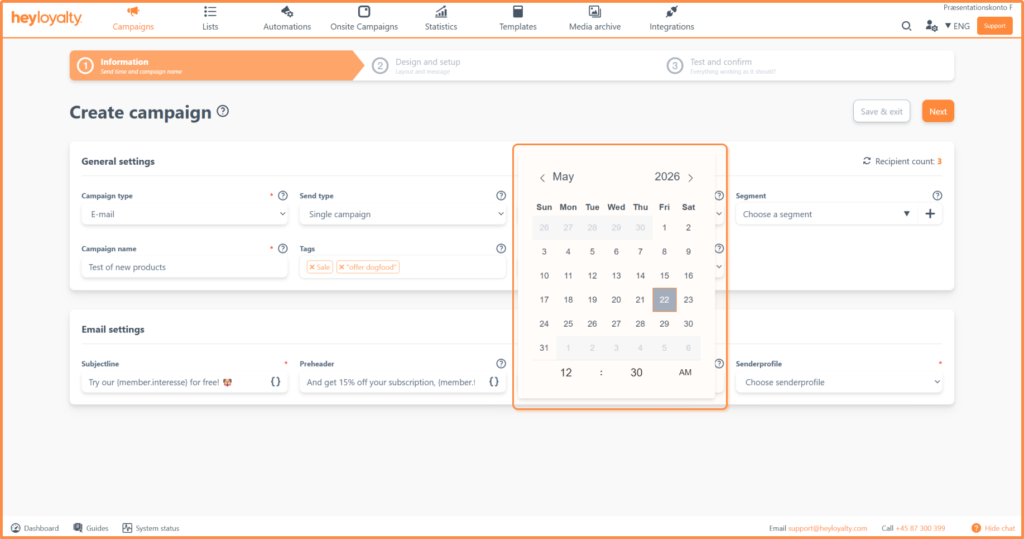
Step 8: Send time and sender
Choose when to send out the campaign.
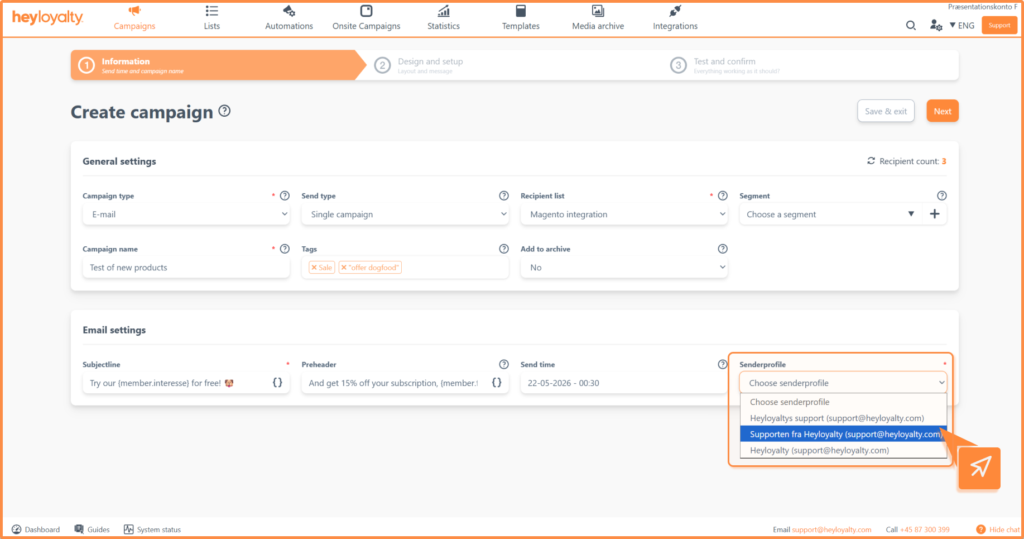
Finally, select Sender. You can select the senders you have created under Sender profile.
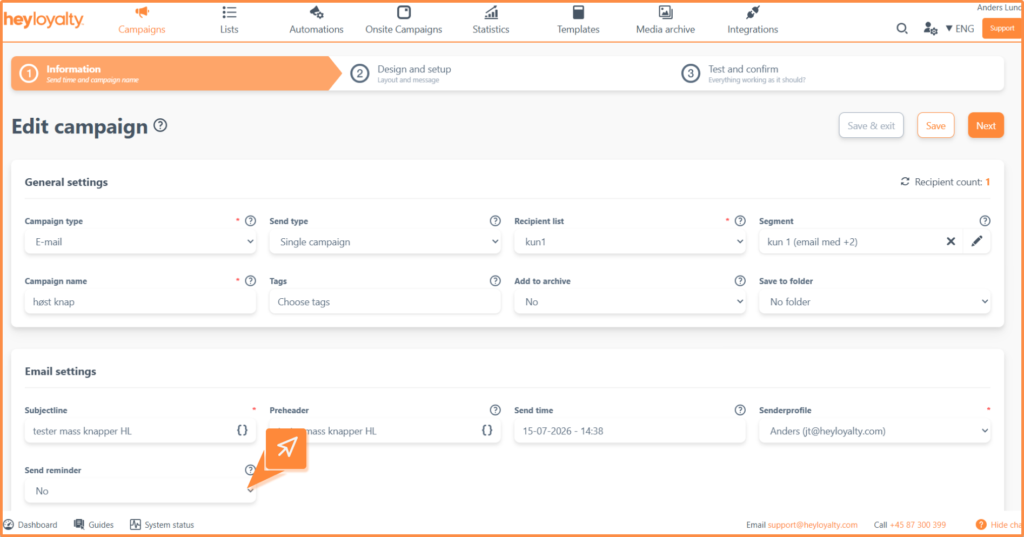
You will find “Reminder” under Email settings. With the reminder, you can prepare an automatic follow-up to those contacts who did not open your email within a given period. In practical terms, a campaign is created which is configured with a specified sending time and a segment that targets recipients who had no interaction with your email.
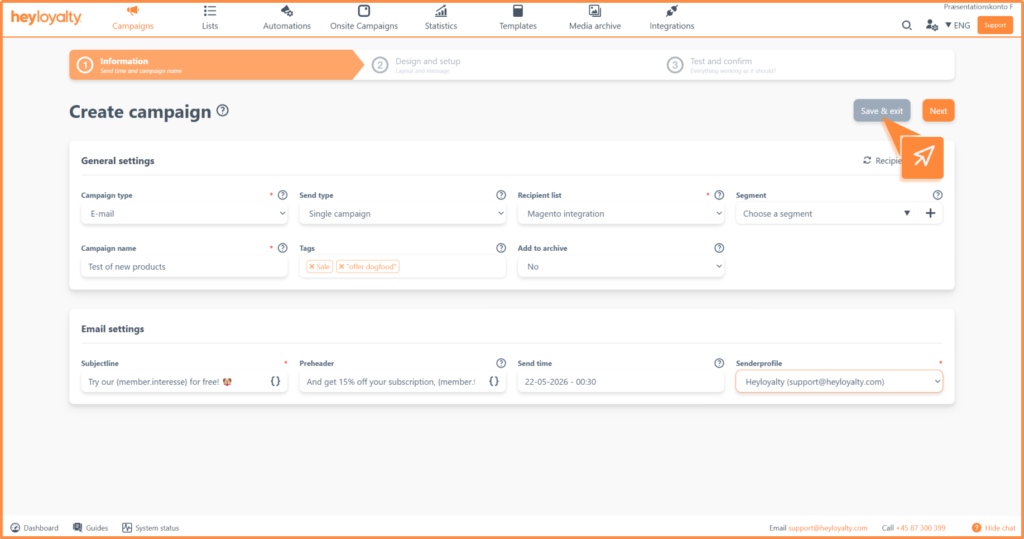
Step 9: Save
When you have finished setting up the campaign settings, click Continue to step 2 to set up the campaign.
You can click Save and exit at any time if you don’t finish the campaign or if you don’t yet know when to send it out. The campaign will be saved as a draft and you can return to it later.
Ready for the next step
You have now filled in all the basic information for your campaign – from campaign type and recipients to sender and subject line. This means the foundation is in place and you’re ready to design the content itself.
Jump to the guide about Step 2 guide and get started building your campaign.