


Create Retail Center in a list
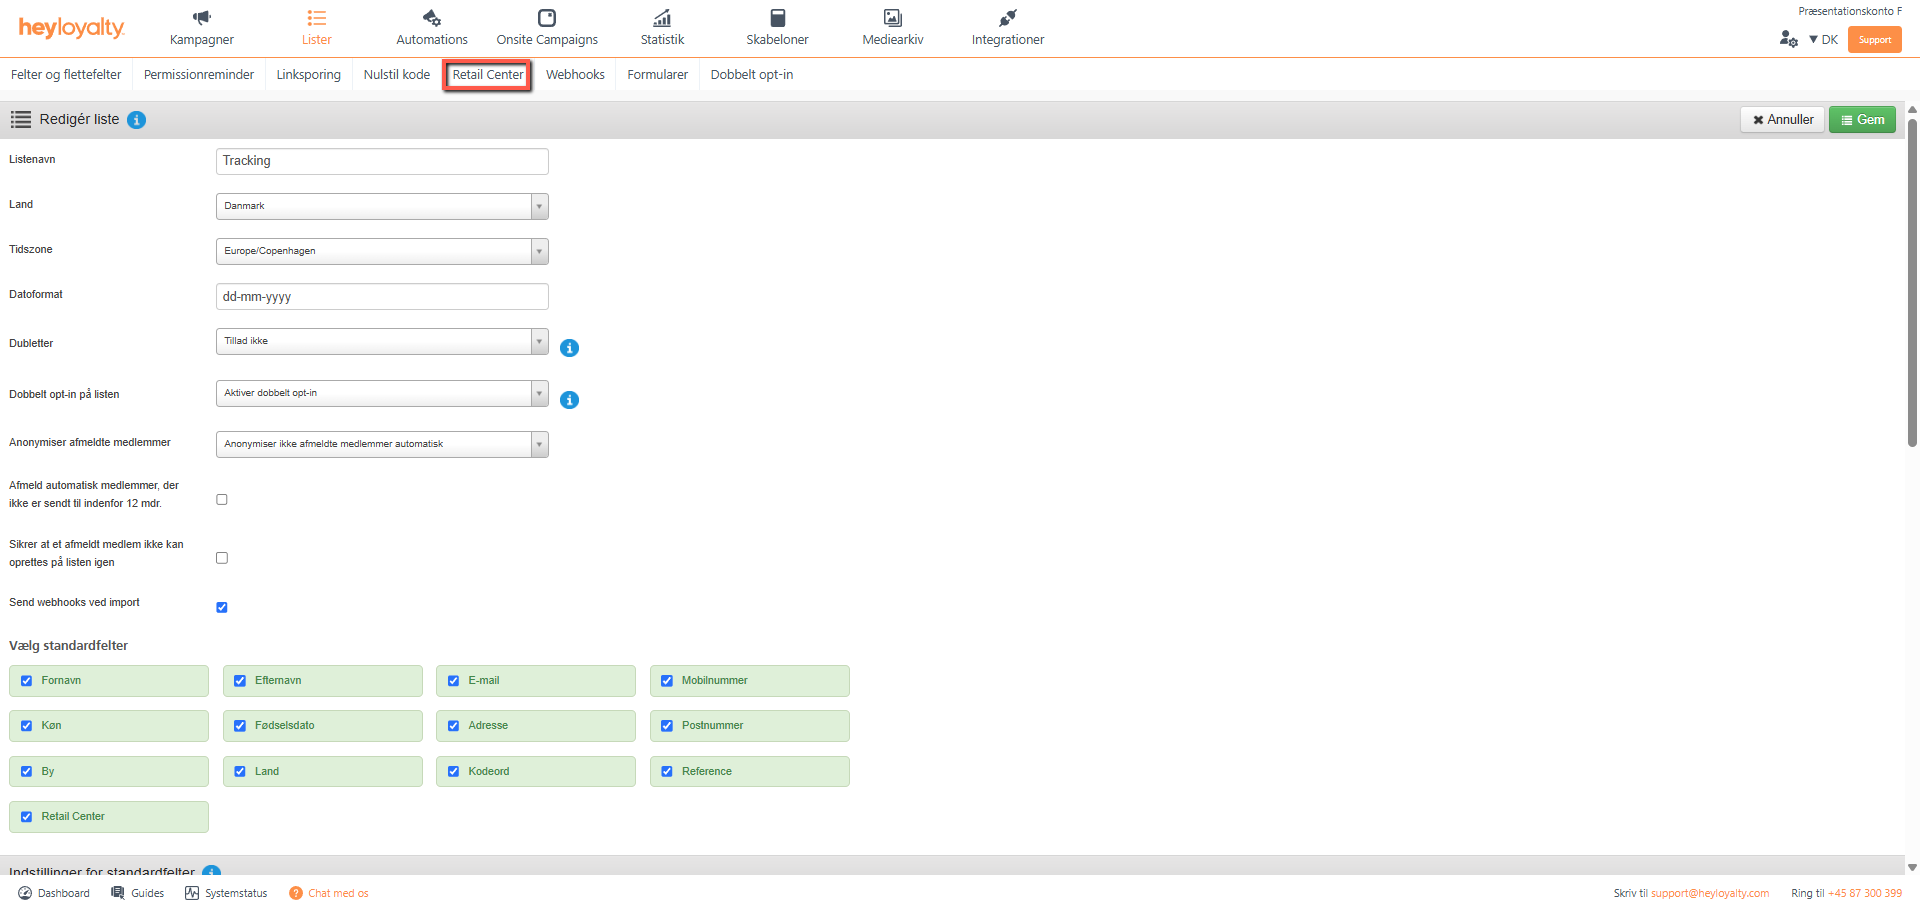
Click Lists –> ⁝ –> Edit list -> Select default fields –> Retail Center
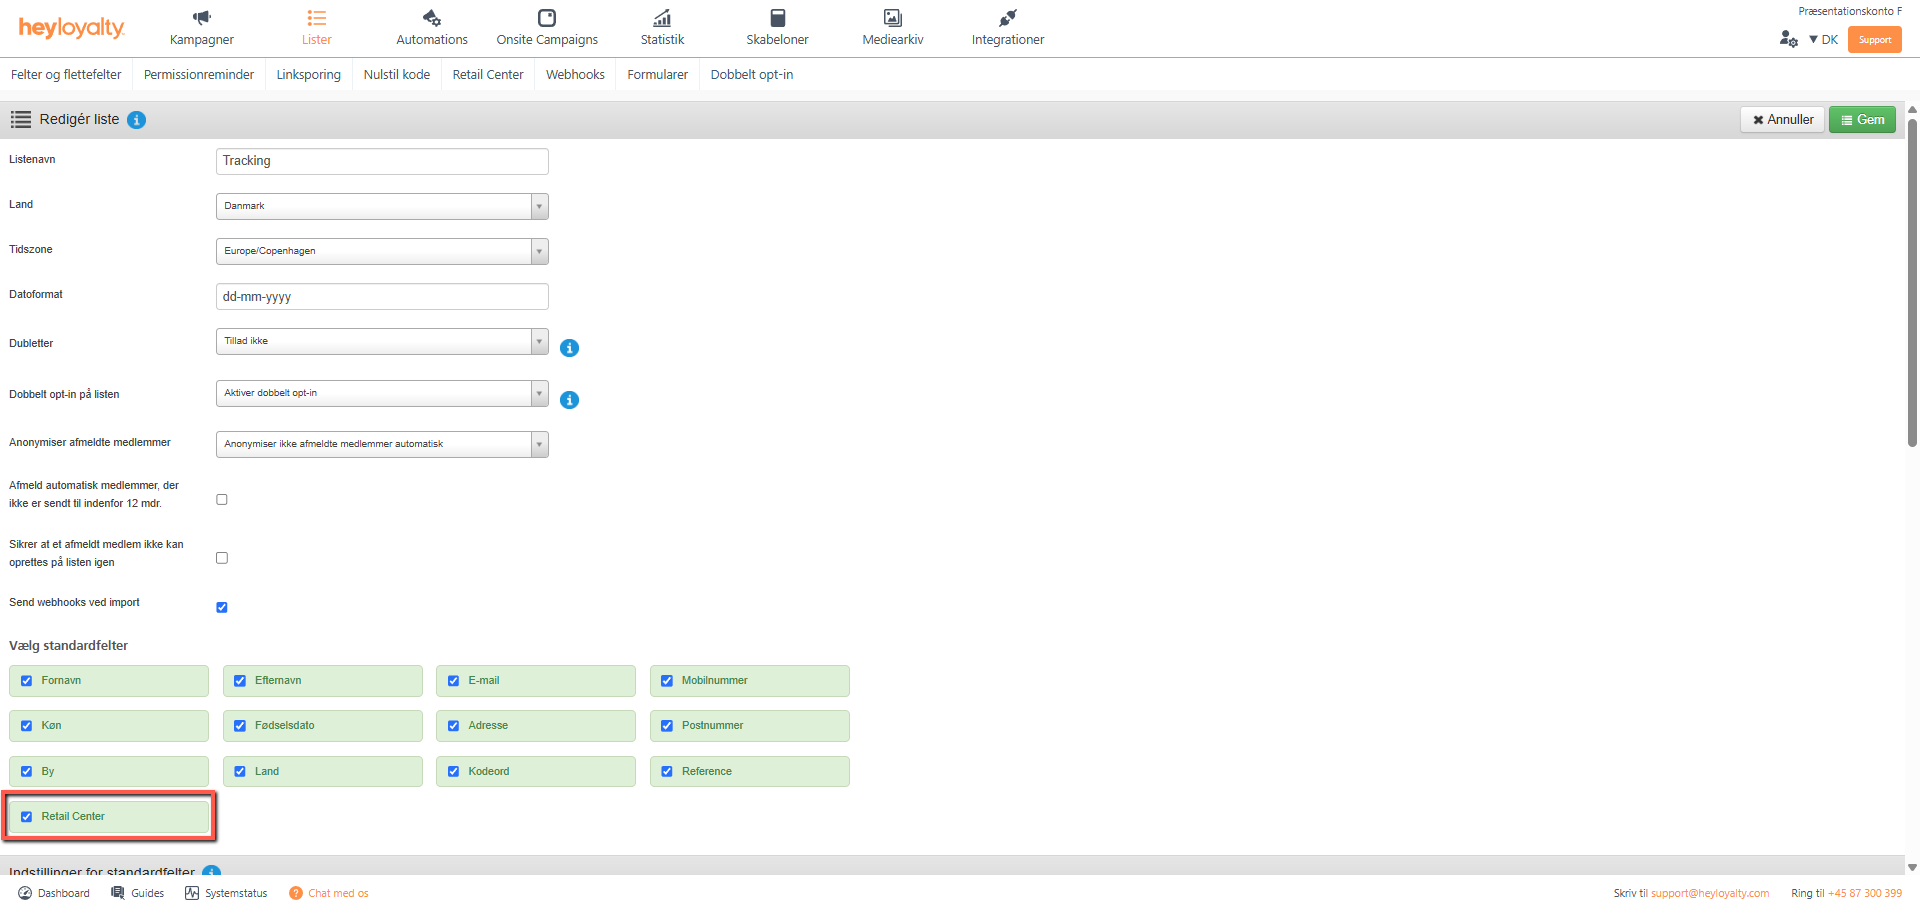
Make sure that the Retail Center field is checked. Click Save.
Create a store in Retail Center
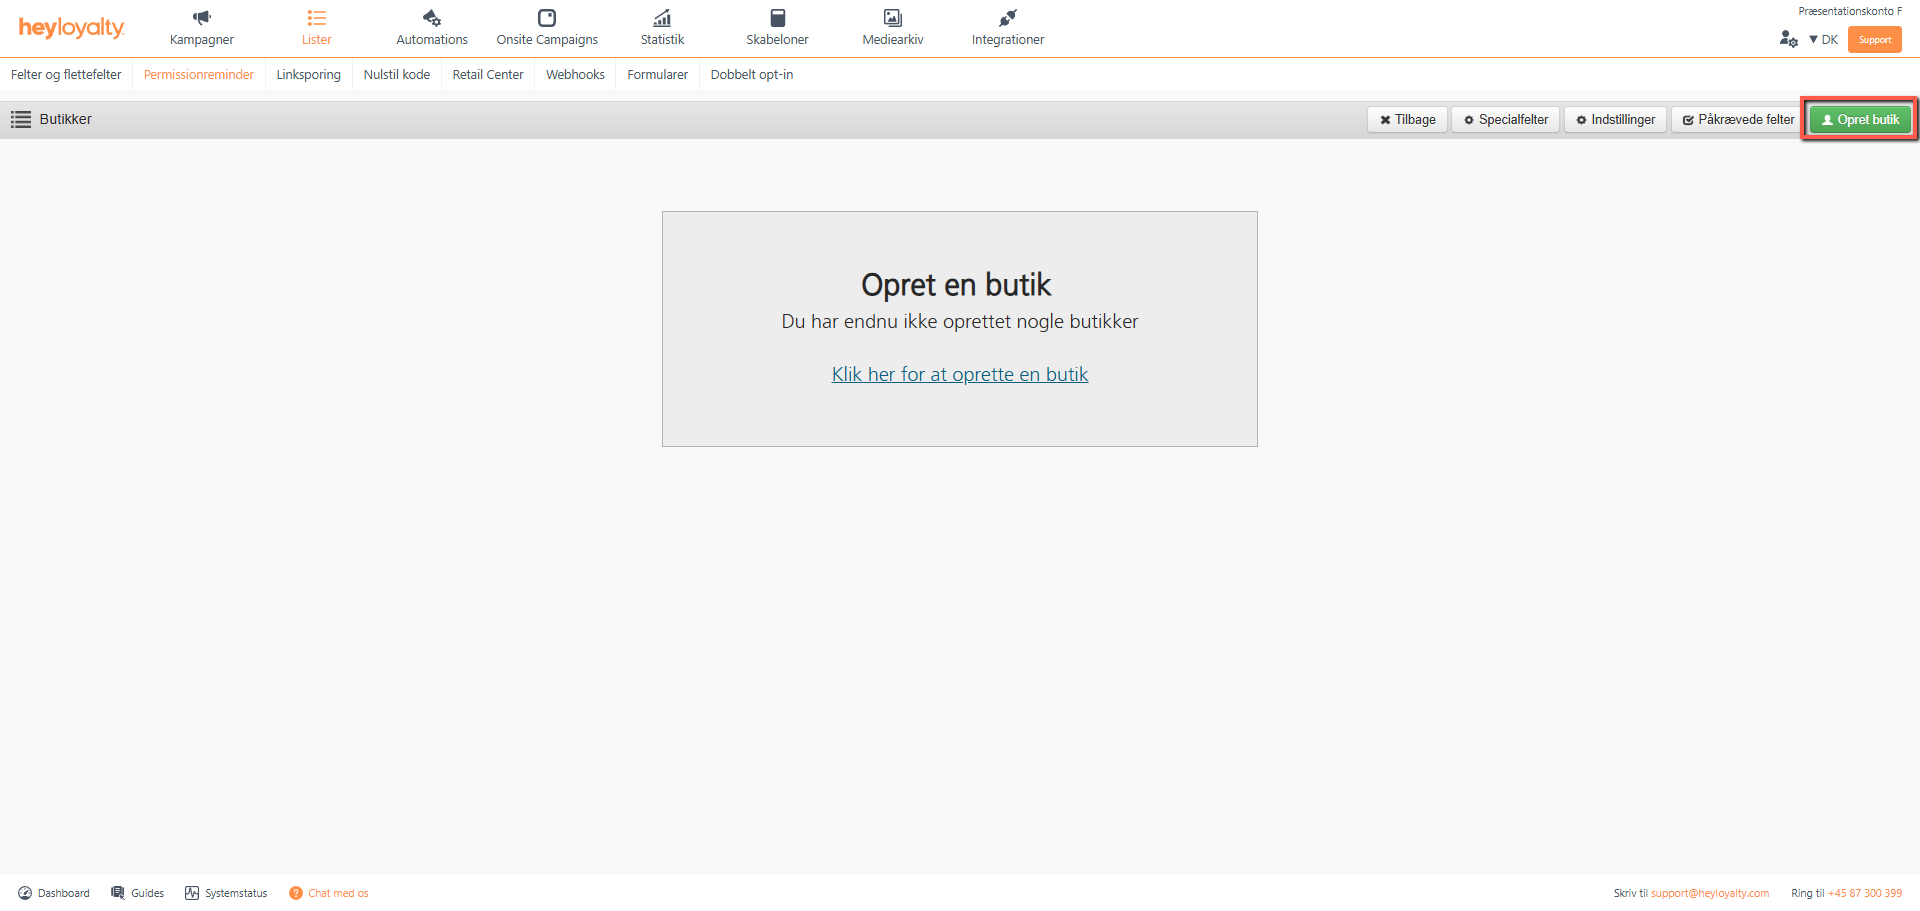
Click Lists –> ⁝ –> Edit List –> Retail Center –> Create Store
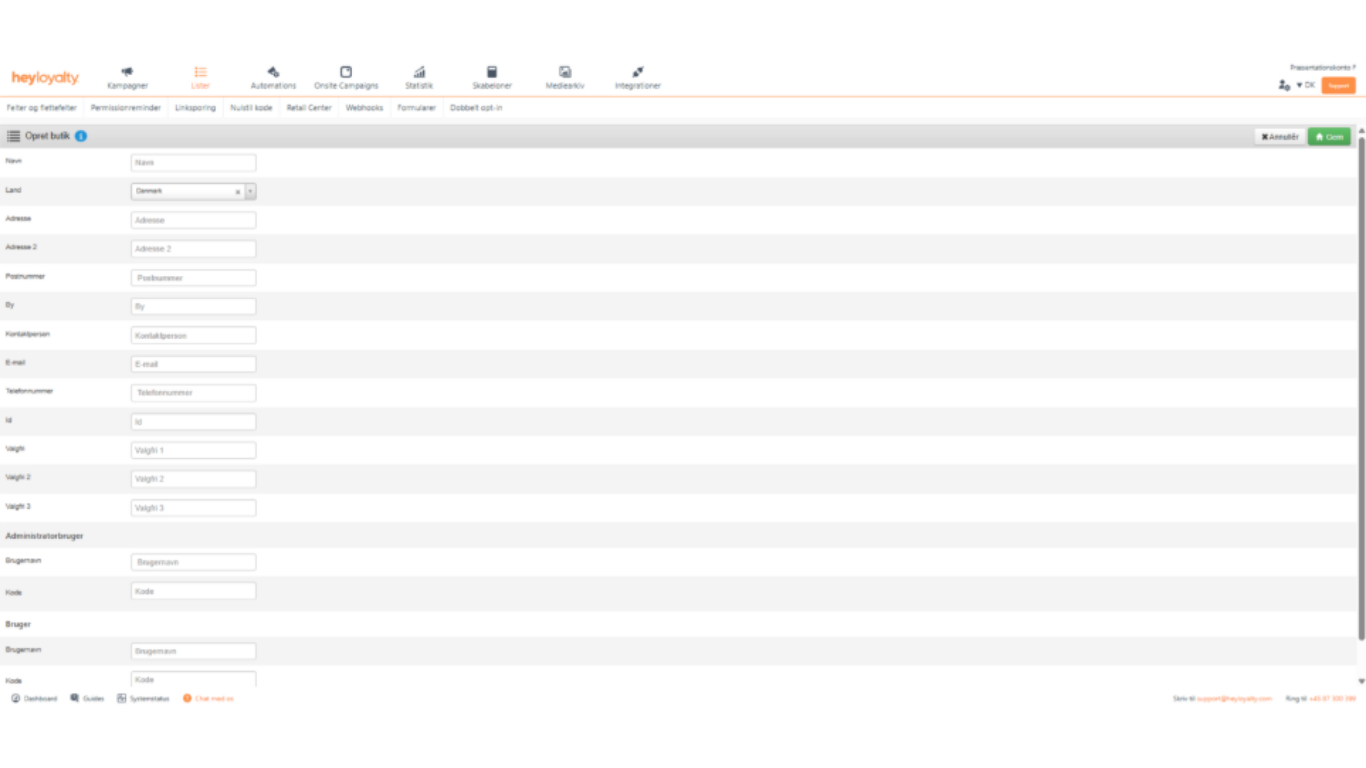
Fill in the information for the store. Each store has an administrator and a user, so each store can log in to Retail Center in Heyloyalty and view the contacts who have chosen to link to that specific store. It’s up to you whether the stores should have this information to log in, or if everything should be managed from headquarters; in that case, you can simply enter something simple that’s easy for you to remember. However, you must fill in the information for both the administrator and the user before you can proceed and click Save to save the store.
You can merge information from the store into any campaign or automation. You do this with merge fields.
You’ll find a link to your stores here, where you can log in and view all the contacts associated with the various stores.
Make stores visible on the registration form
To allow the contact to select a store via your registration form, do the following:
- Go to the ” Sign Up” tab.
- Find the “Select the fields to display” section and check ” Store.”
If you want your contacts on the sign-up form to be able to select multiple stores, this setting must be configured in the Retail Center. So, if you navigate here, under ” Settings ” and then ” Stores per Contact, ” you can allow the contact to select multiple stores by choosing the ” Multiple” option .

Hvis du mangler information eller hjælp, som du ikke finder her på guide sitet, er du altid velkommen til at kontakte vores support!
support@heyloyalty.com / tlf. 87 300 399